Prep time: 30 minutes
Cook time: 15 minutes
Total time: 45 minutes
Servings: 20 wrappers
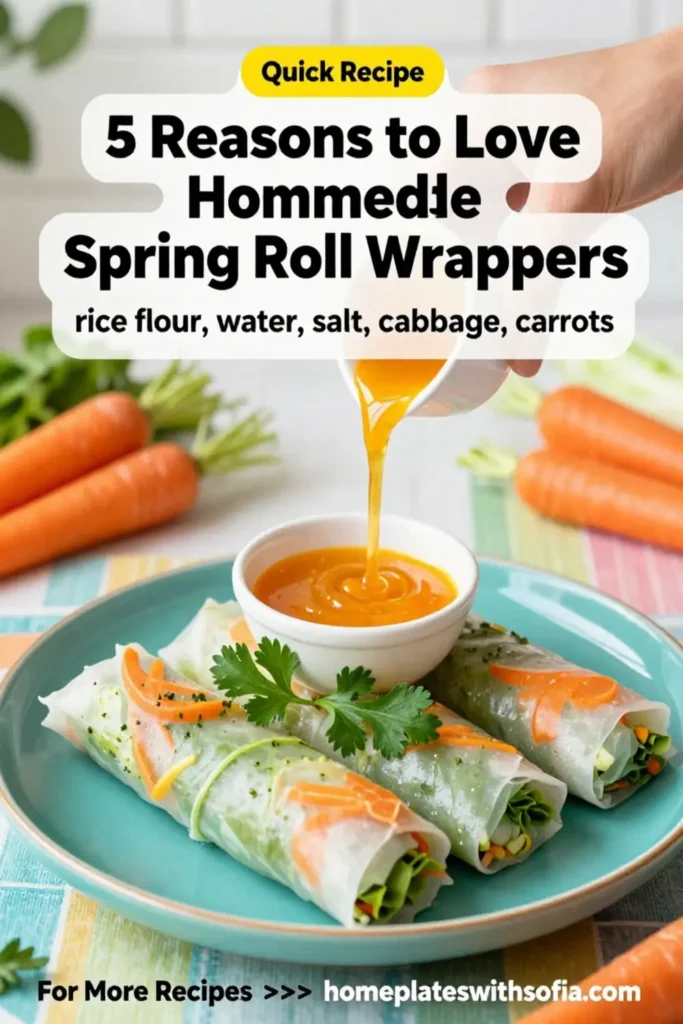
Homemade spring roll wrappers are not just a delicious addition to your cooking repertoire; they are also a symbol of culinary creativity and an opportunity to enjoy fresh, healthy meals at home. Whether you’re a busy parent looking for a quick addition to dinner or a kitchen beginner eager to impress your family and friends, making these wrappers from scratch can elevate your cooking game. In this post, we will explore five compelling reasons to love homemade spring roll wrappers, their versatility in the kitchen, and how easy they are to make.
What Is 5 Reasons to Love Homemade Spring Roll Wrappers?
Homemade spring roll wrappers are thin sheets made primarily from flour and water. Unlike store-bought options, which can sometimes contain preservatives or artificial ingredients, homemade versions are crafted with simple ingredients, allowing for a fresher taste that you can customize to your liking. Whether you want to fry, steam, or bake your spring rolls, these wrappers serve as the perfect canvas for all kinds of fillings, from delightful vegetables to savory meats.
Why You’ll Love This
Let’s dive into the reasons that make homemade spring roll wrappers worthy of your time:
1. **Freshness:** When you make them at home, you can enjoy the freshly made flavor that store-bought wrappers often lack.
2. **Customization:** You can tweak the recipe to suit your dietary needs, whether it’s gluten-free options or adding herbs for enhanced flavor.
3. **Cost-effective:** Often, homemade wrappers are cheaper than their store-bought counterparts, allowing you to stick to your budget while enjoying delicious meals.
4. **Quality Control:** You have full control over the ingredients, ensuring that you avoid unwanted additives and preservatives.
5. **Culinary Fun:** It’s a great family activity, allowing you to bond while you cook, and to introduce children to the art of cooking.
Ingredients You’ll Need
To make these delightful homemade spring roll wrappers, you’ll need the following ingredients:
- All-purpose flour: 2 cups – This is the primary ingredient providing structure.
- Water: 1 cup – Facilitates the dough formation for the wrappers.
- Salt: 1/2 teaspoon – Enhances the flavor of the wrappers.
- Oil: 2 tablespoons – Helps to create a pliable dough and prevents sticking.
How to Make
Now, let’s get started with the step-by-step guide:
- In a large mixing bowl, combine the all-purpose flour and salt. Mix thoroughly to ensure even distribution.
- Gradually add the water to the flour mixture, stirring continuously until a sticky dough forms. The texture should be pliable and slightly tacky but not overly wet.
- Add the oil to the dough. This will enhance the elasticity of your wrappers. Knead the dough on a floured surface for about 5-7 minutes, until smooth.
- Wrap the kneaded dough in plastic wrap and allow it to rest for at least 30 minutes at room temperature. This resting period is crucial for gluten relaxation, making the dough easier to roll out.
- After resting, divide the dough into small equal portions (approximately golf-ball sized). Using a rolling pin, roll each portion into thin circles. Aim for a diameter of about 8-10 inches.
- To cook the wrappers, heat a non-stick pan over medium heat. Lightly oil the surface, then place the rolled wrapper in the pan. Cook for about 1-2 minutes on each side, or until lightly golden and set. Remove and allow to cool.
Variations & Substitutions
Gluten-Free Version: If you are gluten-intolerant or prefer gluten-free options, substitute all-purpose flour with rice flour or a gluten-free flour blend. The texture may differ slightly, but the flavor will still be delightful.
Herb-Infused Wrappers: For an extra burst of flavor, mix finely chopped herbs such as basil or cilantro into your dough. This will give your spring rolls a fragrant flavor and enhance the overall dish.
Colorful Wrappers: Incorporating natural food dyes can be a fun addition. You can add beet juice for pink, spinach juice for green, or turmeric for yellow. Not only is this visually appealing, but it’s also a great way to sneak in additional nutrients.
Common Mistakes to Avoid
One common mistake when making homemade spring roll wrappers is overworking the dough. Over-kneading can result in tough wrappers instead of the desired soft texture. Be sure to knead just enough until smooth and pliable.
Another issue could arise from rolling the wrappers too thick. This may result in less flexible and harder to wrap. Focus on even and thin rolls to ensure that your spring rolls cook uniformly.
Finally, be cautious not to overcrowd your cooking pan. This can cause the wrappers to steam instead of fry, impacting the crispiness.
Storage, Freezing & Reheating Tips
For optimal freshness, store your homemade spring roll wrappers in an airtight container in the refrigerator for up to one week. If you want to keep them longer, consider freezing the wrappers. Layer them with parchment paper to prevent sticking and then place them in a freezer bag. They can last for up to three months in the freezer.
When reheating, place them straight from the fridge or freezer on a hot non-stick pan for a few seconds on each side until warmed through. Be careful not to overcook as they may become brittle.
Frequently Asked Questions
Can I use whole wheat flour for spring roll wrappers?
Yes, you can substitute whole wheat flour for all-purpose flour. However, the texture may be denser and can require a bit more water to achieve the right consistency. Adjusting the ratio might be necessary to ensure a dough that can easily be rolled out.
How can I ensure the wrappers do not stick together?
One effective way to prevent sticking is to lightly dust each wrapper with cornstarch or flour as you stack them. Additionally, ensure that they are completely cooled before stacking and storing them. This will help maintain their texture.
What fillings work best with homemade spring roll wrappers?
The beauty of homemade wrappers is their versatility. Popular fillings include sautéed vegetables, marinated meats, or even shrimp. Feel free to experiment with different flavor profiles based on your preferences and dietary needs.
Can I bake instead of fry my spring rolls?
Absolutely! If you prefer a healthier version, brush the assembled rolls lightly with oil and bake them in a preheated oven at 375°F (190°C) for about 15-20 minutes, or until golden and crispy.
What should I do if my dough is too dry?
If you find your dough is too dry and crumbly, you can slowly add a bit more warm water, kneading it in until it reaches the desired consistency. A little extra moisture can make a significant difference in achieving a smooth dough.
Conclusion: Making your own spring roll wrappers opens up a world of possibilities in your culinary creativity. The freshness and quality that comes from homemade wrappers are hard to beat, allowing you to enjoy healthier meals at home while indulging in flavors that cater to your taste. With minimal ingredients and straightforward techniques, you’ll find that homemade spring roll wrappers are worth the effort. You’ll impress your family and bring a new level of excitement to your meals.


