# Ezekiel Bread – Wholesome, Nutty & Packed with Ancient Grain Goodness!
Ever found yourself standing in the bread aisle, overwhelmed by the countless options? If you’re looking for a nutritious and exciting choice, let me introduce you to **Ezekiel bread**. Inspired by biblical traditions and packed with the goodness of ancient grains, this bread not only tastes great but also brings a wealth of health benefits. Whether you’re a busy parent searching for healthy meals, a student navigating school lunches, or just someone who loves trying new recipes, Ezekiel bread could be your new pantry staple!
In this article, we’ll dive deep into the world of Ezekiel bread, explore its impressive nutritional profile, share a simple recipe, and provide tips for making it your own. Let’s get this wholesome journey started!
What is Ezekiel Bread?
Ezekiel bread gets its name from a verse in the Bible (Ezekiel 4:9) which specifies baking bread using a mixture of grains and legumes. This traditional bread is made from sprouted whole grains and legumes, including wheat, barley, millet, beans, lentils, and spelt. What makes Ezekiel bread unique is the process of sprouting the grains, allowing for enhanced flavor, digestibility, and nutrient absorption.
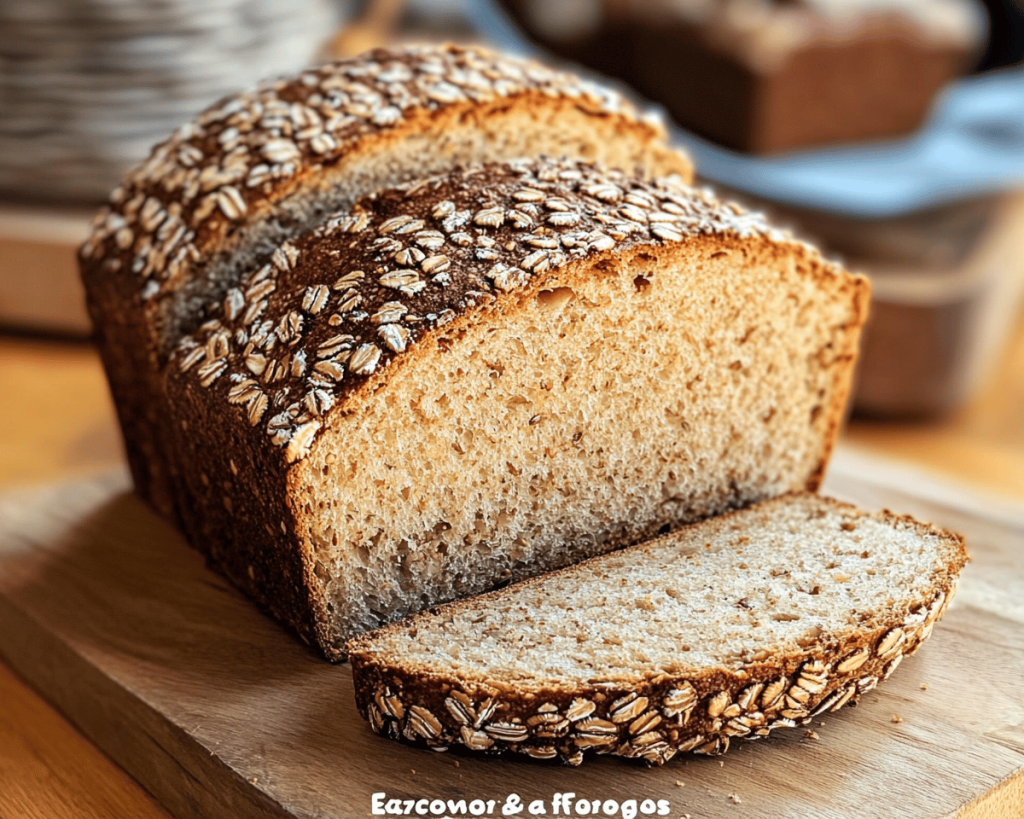
**Sprouting** breaks down the complex starches and proteins, making the grains easier to digest while significantly improving their nutritional value. With its nutty flavor and dense texture, Ezekiel bread isn’t just a feast for the taste buds, but also a satisfying and hearty choice for any meal of the day.
Why You’ll Love Ezekiel Bread
There are countless reasons to love Ezekiel bread. Here are a few:
1. **Nutritious Powerhouse**: Rich in protein, fiber, vitamins, and minerals, this bread is an excellent addition to your meal prep. It contains all nine essential amino acids, making it a complete protein source.
2. **Great for Various Diets**: Whether you’re following a vegetarian, vegan, or even gluten-free (some variations) diet, Ezekiel bread can fit into your lifestyle seamlessly. It’s perfect for those looking for wholesome, health-conscious options.
3. **Customizable**: You can easily adapt the recipe to include different grains or seeds based on your preferences, making **Ezekiel bread** versatile and fun to experiment with.
4. **Flavorful**: The nutty, slightly sweet flavor pairs well in sweet and savory applications, from breakfast toast with almond butter to hearty sandwiches for lunch.
5. **Satisfying Texture**: Thanks to the unique production method of sprouting, this bread has a chewy, dense texture that leaves you feeling full and satisfied.
Ingredients You’ll Need
Before we get started on the recipe, let’s look at the ingredients. For a delightful homemade version of Ezekiel bread, you’ll need:
– **1 cup of whole wheat berries**: This forms the base of our bread. Whole wheat berries provide fiber and essential nutrients.
– **1/2 cup of spelt berries**: Adding spelt brings a lovely, nutty flavor while boosting the protein content.
– **1/2 cup of barley**: This ancient grain improves the bread’s texture and adds a little sweetness.
– **1/2 cup of lentils**: Lentils are full of protein, fiber, and iron. They also aid in the sprouting process!
– **2 cups of water**: Essential for soaking and sprouting your grains.
– **1 tablespoon of honey or maple syrup**: Provides a bit of sweetness to complement the flavors while allowing the yeast to activate.
– **1 tablespoon of salt**: Essential for flavor and helps control the fermentation process.
– **1 packet (2¼ tsp) of active dry yeast**: This is what makes your bread rise, creating that light, airy structure.
– **Optional: seeds (such as sunflower or sesame seeds)** for topping: Adds texture and extra nutrition!
Each ingredient plays a crucial role in enhancing the taste, texture, and health benefits of your bread. Let’s dig into the sprouting process first!
Step-by-Step Instructions for Ezekiel Bread
Making Ezekiel bread might sound complex, but I promise it’s easier than you think. Follow these clear steps for a delightful homemade loaf:
1. **Sprout the Grains**:
– Rinse the whole wheat berries, spelt, barley, and lentils thoroughly under cold water.
– Place them in a large bowl and cover with about 2 cups of water. Let them soak overnight.
– The next day, drain the water and rinse the grains again. Place them in a jar or mesh strainer, cover loosely with cheesecloth, and leave in a warm spot. Rinse and drain the grains twice a day for about 24-48 hours until tiny shoots emerge. This is the sprouting process!
2. **Prepare the Dough**:
– Once sprouted, combine the grains and lentils in a food processor. Pulse a few times until they have a coarse consistency.
– Transfer the mixture to a large bowl and slowly add warm water, honey or maple syrup, and salt. Mix until combined.
3. **Add Yeast**:
– In a small bowl, add your active dry yeast to the dough. Mix well, and allow it to sit for about 10 minutes. You should see some bubbles indicating the yeast is activated.
4. **Knead the Dough**:
– Knead the mixture on a floured surface for about 10 minutes until it becomes smooth and elastic. This process helps develop the gluten in the bread.
5. **Let It Rise**:
– Place your dough in a lightly greased bowl, cover it with a damp cloth, and let it rise in a warm area for about 2 hours until it doubles in size.
6. **Shape and Final Rise**:
– Punch down the risen dough and transfer it to a loaf pan. Optionally, top with seeds if you desire. Cover with a cloth and let it rise again for about 30-45 minutes.
7. **Bake**:
– Preheat your oven to 350°F (175°C). Bake the bread for about 30-35 minutes until the top is golden brown and sounds hollow when tapped.
8. **Cool and Enjoy**:
– Once baked, remove the bread from the oven and let it cool in the pan for 10 minutes before transferring it to a wire rack. Allow it to cool completely before slicing. Enjoy your wholesome Ezekiel bread toasted or in a sandwich!
Tips & Variations
1. **Store Correctly**: Store your Ezekiel bread in an airtight container or zip-lock bag at room temperature for up to 3 days, or slice and freeze for freshness, thawing slices as needed.
2. **Showcase Your Bread**: Cut your bread into thick slices and toast with your favorite spreads. Try adding avocado, hummus, or almond butter for a nutritious snack.
3. **Flavor Additions**: Consider adding cranberries, pumpkin seeds, or walnuts to the dough for added flavor and texture.
4. **Experiment with Grains**: Feel free to substitute or add different ancient grains like quinoa or brown rice for a unique twist on your recipe.
5. **Perfect Timing**: If you plan to make the bread during a busy week, consider preparing the dough ahead of time and storing it in the fridge overnight for a quick bake the next morning.
Health Benefits or Nutritional Highlights
Ezekiel bread is not just a delight for the taste buds; it’s a powerhouse of nutrition! Here are some health benefits of including it in your diet:
– **High in Protein**: Thanks to the combination of legumes and grains, it’s a fantastic protein source, making it great for muscle repair and overall health.
– **Rich in Fiber**: Fiber aids digestion and helps keep you feeling full for extended periods, making it an ideal choice for weight management.
– **Packed with Vitamins**: This bread is rich in essential nutrients like B vitamins, iron, and magnesium, all of which are critical for bodily functions.
– **Low Glycemic Index**: Compared to many other bread types, Ezekiel bread has a relatively low glycemic index, meaning it won’t spike your blood sugar levels.
For more detailed nutritional information, check out credible sources like [Healthline](https://www.healthline.com/nutrition/what-is-ezekiel-bread) or the *USDA database* .
Frequently Asked Questions
**1. Can I make Ezekiel bread gluten-free?**
Yes, you can adapt the recipe by using gluten-free grains such as quinoa, buckwheat, and gluten-free oats. However, traditional Ezekiel bread does contain grains like wheat, which would not be suitable for those with gluten intolerances.
**2. How long does sprouting take?**
Typically, sprouting takes about 24 to 48 hours, depending on the temperature and humidity. Look for tiny shoots to emerge from the grains for optimal results.
**3. Can I use pre-sprouted grains?**
Absolutely! Many health food stores sell pre-sprouted grains, which can save time. Just make sure they are fresh and keep an eye on the expiration date.
**4. What can I use instead of a food processor?**
If you don’t have a food processor, you can finely chop the sprouted grains by hand or use a mortar and pestle, though this will take more time and effort.
**5. How can I customize the flavors?**
Feel free to play around with spices! For a savory touch, try adding garlic powder or onion powder. A pinch of cinnamon can bring a lovely warmth if you want to enjoy it for breakfast.
In conclusion, **Ezekiel bread** is not only delicious but also provides wholesome nutrition to fuel your day. With its nutty flavor and unique texture, it makes for a perfect addition to any meal, whether it’s breakfast toast, a classic sandwich, or a side to accompany dinner.
Try it tonight and let me know how it turned out! You might just find yourself hooked on this ancient grain wonder. Happy baking!