Prep time: 30 minutes
Cook time: 20 minutes
Total time: 50 minutes
Servings: 12 spring rolls
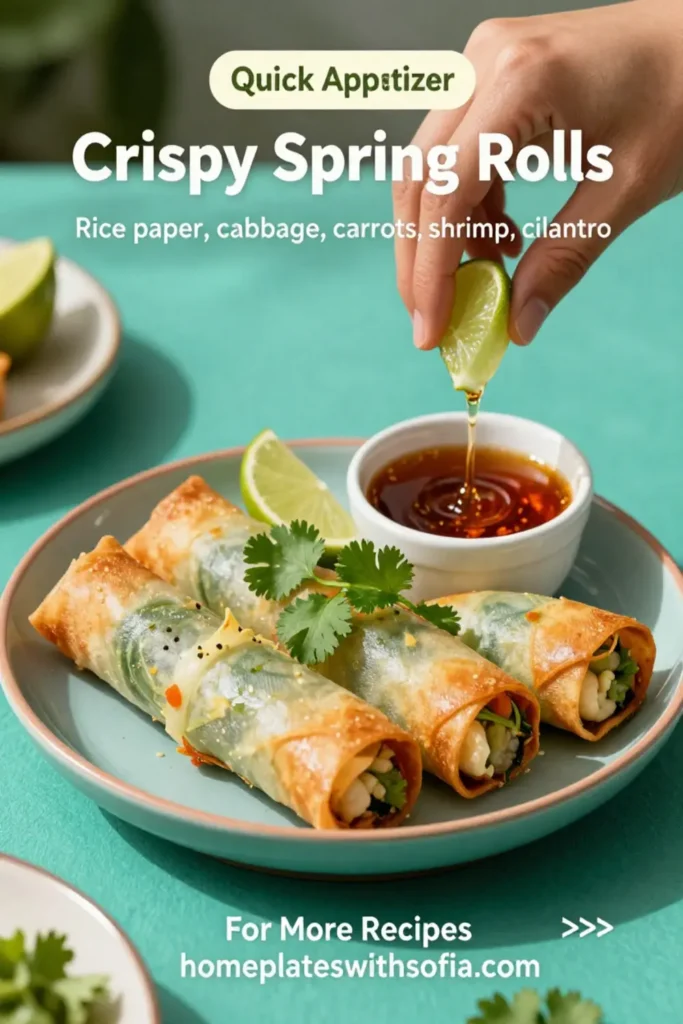
Crispy Spring Rolls are a delightful appetizer that never fails to impress. Whether you’re hosting a gathering, enjoying a weekend family dinner, or simply craving something crispy and savory, these spring rolls are a perfect fit for any occasion. They’re packed with flavor, offer a satisfying crunch, and can be customized to suit various tastes and dietary preferences. With their golden-brown exteriors and fresh fillings, they are both beautiful and delicious.
What Is Crispy Spring Rolls
Appetizers: 5 Must-Try Variations?
Crispy Spring Rolls are a popular dish in many Asian cuisines, typically filled with a combination of vegetables and protein, all wrapped up in a thin rice paper or wheat flour pastry. The filling can vary widely, allowing you to tailor the recipe to your specific cravings or dietary needs. They are typically fried until golden and served with a variety of dipping sauces for an extra burst of flavor. In this recipe, we’ll focus on the classic version but also share five mouth-watering variations that will elevate your appetizer game.
Why You’ll Love This
There are dozens of reasons to love Crispy Spring Rolls. First and foremost, they are incredibly versatile. Want to add some protein? You can easily toss in shrimp or chicken. Prefer a vegetarian take? Load them up with fresh vegetables and herbs. Additionally, the crispy texture combined with the savory filling creates a delightful contrast that is hard to resist. They are also easy to prepare in bulk, making them a fantastic choice for parties or meal prepping for busy weeks ahead. Lastly, they can be paired with a variety of sauces, from sweet and sour to spicy chili, allowing you to vary the taste for every meal.
Ingredients You’ll Need
- Spring roll wrappers: These thin sheets are the foundation of your spring rolls. Choose rice paper for a gluten-free option or wheat flour wrappers for a puffier texture.
- Shredded cabbage: This adds crunch and is a classic filling base. It balances well with richer ingredients.
- Carrots, julienned: Sweet and crunchy, carrots provide color and nutrition.
- Green onions: Sliced thinly, these add a sharp onion flavor and freshness to the rolls.
- Bell peppers, thinly sliced: Red, yellow, or green bell peppers add sweetness and a pop of color.
- Protein (optional): Chicken, shrimp, or tofu can be added for a heartier filling.
- Garlic and ginger: Minced, these provide aromatic depth to the filling.
- Soy sauce: For seasoning, adding umami and saltiness to the mix.
- Vegetable oil: Used for frying, it helps achieve that crispy golden exterior.
- Dipping sauces: Serve with sweet chili sauce, soy sauce, or a homemade peanut sauce for added flavor.

How to Make
- Prep your filling: In a bowl, combine the shredded cabbage, julienned carrots, sliced bell peppers, and minced garlic and ginger. Toss everything together while drizzling a bit of soy sauce for flavor. If you’re adding protein, cooked shrimp or shredded chicken work wonderfully. Ensure you mix well and let this sit for a few minutes to immerse in the flavors.
- Prepare the wrappers: If you’re using rice paper wrappers, it’s best to soak them in warm water for about 15-20 seconds until they become pliable. If using wheat wrappers, keep them covered with a damp kitchen towel to prevent drying out.
- Assemble the spring rolls: Place the wrapper on a flat surface, add a small amount of filling (about two tablespoons), fold the sides in, and roll tightly from the bottom to the top. Ensure they are tightly sealed to prevent any filling from spilling during frying.
- Fry the rolls: Heat about 1-2 inches of vegetable oil in a pan over medium heat. Once the oil is hot, carefully add the spring rolls, frying in batches to avoid overcrowding. Fry for about 3-4 minutes on each side or until golden brown and crispy.
- Drain and serve: Once cooked, remove the rolls and place them on a plate lined with paper towels to absorb excess oil. Serve warm with your choice of dipping sauce.
Variations & Substitutions
Vegetarian Spring Rolls: For a meat-free option, simply omit any meat or seafood and load up on fresh vegetables and herbs. Consider adding mushrooms, spinach, or fresh herbs like mint and basil for an aromatic kick.
Sweet Potato and Black Bean Spring Rolls: Swap out traditional fillings for a mixture of roasted sweet potatoes and black beans. This combination offers a hearty and nutritious option.
Shrimp Spring Rolls: For a coastal twist, mix shrimp with vegetables and seasonings for a delicious filling. You can sauté the shrimp briefly before wrapping them up or use them raw if frying.
Crispy Chicken Spring Rolls: Add shredded chicken mixed with spices and vegetables for a protein-packed delight. This is a great way to use up leftover chicken from other meals.
Thai Spiced Tofu Rolls: Replace any protein with marinated tofu. Use some robust spices and perhaps some peanut butter to enhance the flavors, giving it an exotic edge.
Common Mistakes to Avoid
Overfilling your rolls: It’s tempting to add more filling, but overstuffing can cause the wrappers to tear during frying. Less is often more when it comes to filling quantities.
Not sealing properly: Ensure that the edges of the spring rolls are sealed tightly to avoid losing filling in the oil. A mixture of flour and water can work wonders if you have trouble sealing.
Frying at low temperatures: If the oil isn’t hot enough, the rolls will absorb too much oil and become greasy instead of crispy. The ideal frying temperature is around 350°F (175°C).
Storage, Freezing & Reheating Tips
Crispy Spring Rolls are best enjoyed fresh but can be stored for later. Allow them to cool completely before placing them in an airtight container. They can be refrigerated for up to three days. When reheating, consider putting them in the oven at 375°F (190°C) for about 10-15 minutes to restore their crispiness.
For longer storage, freeze un-fried spring rolls by laying them in a single layer on a baking sheet. Once frozen, transfer them to a freezer-safe bag, where they can be stored for up to three months. When you’re ready to enjoy them, fry them straight from the freezer; just be sure to increase the cooking time slightly.
Frequently Asked Questions
What can I use as a filling for spring rolls?
You can get creative with your fillings! Fresh vegetables like carrots, cabbage, and bell peppers are great choices. If you want to include protein, shrimp, chicken, or tofu work excellently. You can even combine ingredients to create your ultimate flavor.
Can I make spring rolls in advance?
Absolutely! You can prepare and fill the rolls a few hours ahead of time. Just keep them covered with a damp paper towel to prevent drying out until you’re ready to fry or bake them.
What is the best oil to use for frying spring rolls?
Use a neutral oil with a high smoke point, such as vegetable oil or peanut oil. Both of these oils can withstand the high temperatures needed for frying without imparting a strong flavor.
How can I achieve the perfect crunch?
Ensure that you fry at the right temperature. If the oil is too cool, the rolls will absorb excess oil and become soggy. Conversely, if it’s too hot, they’ll burn quickly on the outside before cooking the filling properly.
What can I serve with spring rolls?
Dipping sauces are key! Consider serving with sweet chili sauce, soy sauce, or even a homemade peanut dipping sauce. Fresh herbs like cilantro or mint beside the rolls also enhance the experience.
Conclusion: Crispy Spring Rolls, with their enticing crunch and versatile filling options, are not only a fantastic appetizer but also a fun culinary project that anyone can get involved in. Try these variations and make them your own, or stick to the classic for timeless flavor. Whether you’re serving these at a party or enjoying them on a quiet night at home, they’re sure to please any palate. Enjoy each crispy bite!


