Prep time: 20 minutes
Cook time: 15 minutes
Total time: 35 minutes
Servings: 4
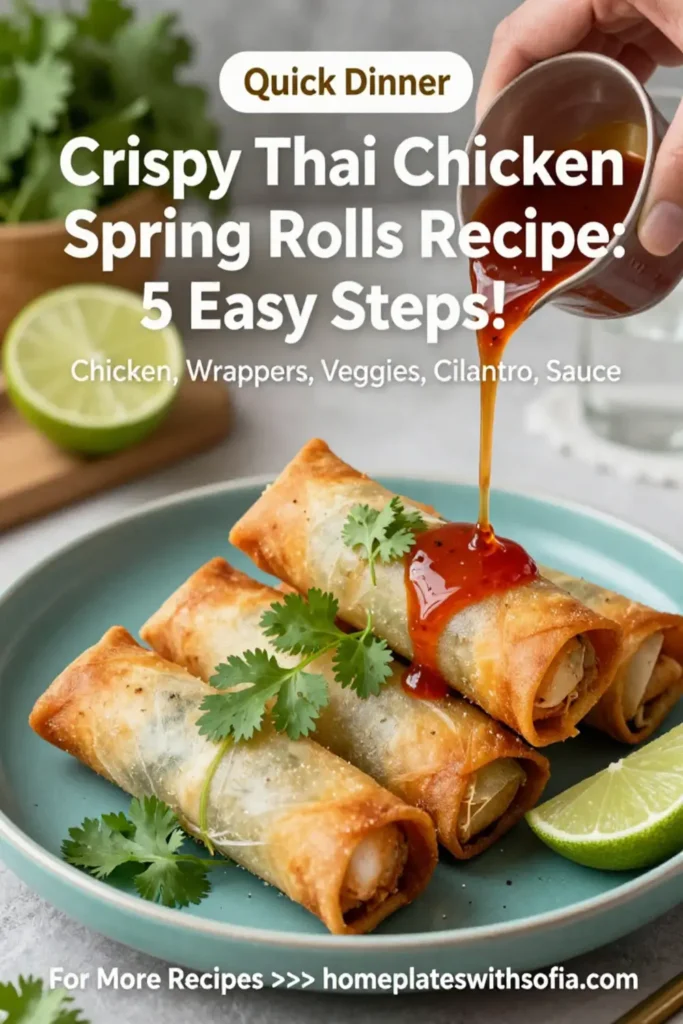
Crispy Thai Chicken Spring Rolls are the perfect blend of flavor and texture, delivering a delightful crunch with every bite. These spring rolls marry the savory notes of chicken with aromatic herbs and spices, wrapped in thin rice paper for a satisfying appetizer or snack. What’s more, they are surprisingly easy to prepare, making them ideal for busy parents or anyone looking to impress guests with little effort. Let’s dive into why you’ll love this recipe and how to create these delectable bites in just five easy steps.
What Is Crispy Thai Chicken Spring Rolls Recipe: 5 Easy Steps!?
Crispy Thai Chicken Spring Rolls are a popular dish known for their distinctive crunch and vibrant flavor. Traditionally filled with fresh vegetables and protein, these spring rolls make for a versatile dish that can be enjoyed as an appetizer, light lunch, or even a party platter. The star of this recipe is the chicken, seasoned to perfection, which brings everything together into a harmony of taste that delights the palate.
Why You’ll Love This
There are countless reasons to love this recipe. First, the crispy exterior provides a satisfying crunch that contrasts beautifully with the succulent filling. Second, the flavor profile is out of this world; the combination of fresh herbs, spices, and tender chicken creates a dish that bursts with flavor. Additionally, this recipe is adaptable—feel free to add your favorite vegetables or protein alternatives. Perfect for meal prepping or serving at gatherings, these spring rolls cater to various dietary preferences while remaining fun and kid-friendly. Lastly, they are quick and straightforward to prepare, which means you can have them on the table in no time.
Ingredients You’ll Need
To create your Crispy Thai Chicken Spring Rolls, you will need the following ingredients:
- 1 lb ground chicken: This serves as the protein base. It offers a mild flavor that pairs perfectly with the spices and herbs.
- 2 cloves garlic: Minced garlic enhances the savoriness of the filling.
- 1 cup shredded carrots: For natural sweetness and crunchy texture, carrots add both color and nutrition.
- 1 cup bean sprouts: These provide a refreshing crunch and serve as a light component in the filling.
- 1/4 cup fresh cilantro: Adds a burst of freshness; it’s essential in Thai cuisine.
- 2-3 green onions: Chopped; these contribute a mild onion flavor and added crunch.
- 1 tbsp soy sauce: This adds umami depth to the filling.
- 1 tsp sesame oil: For a hint of nuttiness, which rounds out the flavor profile.
- Rice paper wrappers: Necessary for wrapping the filling; they create that iconic crispy exterior when fried.
- Vegetable oil: For frying, it’s essential to ensure the spring rolls achieve that perfect crispy texture.

How to Make
- Prepare the filling: In a large skillet over medium heat, add a splash of vegetable oil and let it heat up. Sauté the minced garlic until fragrant, about 30 seconds. Then, add the ground chicken and cook it until browned, breaking it apart with a spatula. This should take about 5-7 minutes. The chicken should be fully cooked and any excess moisture should evaporate, leaving you with a flavorful filling.
- Add vegetables: Once the chicken is cooked, stir in the shredded carrots, bean sprouts, chopped green onions, and fresh cilantro. Cook them together for an additional 2-3 minutes. The veggies should remain crisp but tender enough to integrate into the filling. Season the mixture with soy sauce and sesame oil, stirring until everything is well combined. This step brings all the flavors together—adjust seasoning to your liking.
- Prepare the wrappers: Take a shallow dish filled with warm water, and dip one rice paper wrapper into the water for about 10-15 seconds. Be careful not to over-soak it; the wrapper should be pliable but not too soggy. Remove it from the water and lay it flat on a clean surface.
- Fill and roll: Place about 2 tablespoons of the filling in the center of the wrapper. Fold the sides over the filling, similar to an envelope. Roll the wrapper tightly from the bottom to the top, sealing the edges securely. Repeat this process until you’ve filled all wrappers; this part allows for creativity, so don’t worry about making them look perfect!
- Fry the spring rolls: In a large pot or deep skillet, heat about 2-3 inches of vegetable oil over medium-high heat. Once the oil is hot, carefully add a few spring rolls at a time, avoiding overcrowding. Fry them for about 3-5 minutes or until they turn golden brown and crispy. Make sure to turn them occasionally for even cooking. Once done, place them on a paper towel-lined plate to absorb excess oil.
Variations & Substitutions
Vegetarian Option: Replace the ground chicken with crumbled tofu or a medley of finely chopped mushrooms for a vegetarian version. The texture will be slightly different, but the flavor will still be enticing, especially when seasoned well with soy sauce and ginger.
Seafood Spring Rolls: You can easily switch out the protein for shrimp or crab meat. Make sure to lightly sauté the seafood before mixing it with the other ingredients. This variation adds a seafood twist, perfect for those who enjoy shellfish.
Spicy Chicken Spring Rolls: For spice lovers, incorporate diced jalapeños or red chili flakes into the filling. This will add a nice heat that perfectly complements the crunch of the roll.
Herbed Spring Rolls: Experiment by adding finely chopped mint or dill to the filling for a refreshing twist. These herbs bring a burst of flavor that lightens up the rolls, making them ideal for warmer days.
Low-Carb Version: For those watching their carbs, consider using lettuce leaves instead of rice paper. While they won’t have the same texture, lettuce wraps can provide a fresh, low-carb alternative without sacrificing flavor.
Common Mistakes to Avoid
One of the most common mistakes is overfilling the spring rolls. If you pack too much into the wrappers, they may tear while rolling or frying, which can lead to a messy outcome. Remember, less is more when it comes to filling.
Another frequent error is not sealing the wrappers properly. Ensuring the edges are tightly sealed will prevent any leakage during frying. Make sure to apply a little water to the edges as you roll to help them stick together.
Finally, frying at low temperatures can result in soggy rolls instead of crispy ones. Make sure your oil is hot enough for frying; test by dropping in a small piece of bread—if it bubbles vigorously, it’s ready!
Storage, Freezing & Reheating Tips
To store leftover spring rolls, place them in an airtight container in the refrigerator for up to 3 days. If you wish to freeze them, arrange the uncooked spring rolls on a baking sheet lined with parchment paper. Freeze until solid, then transfer them to a freezer-safe bag or container. They can be stored this way for up to 3 months. When it’s time to enjoy them, there’s no need to thaw. Just fry them straight from the freezer—add a minute or two to the cooking time.
For reheating cooked spring rolls, the best method is to use an oven. Preheat your oven to 375°F (190°C) and bake the spring rolls for about 10-15 minutes until they regain their crispness. Avoid microwaving, as this will make them soggy.
Frequently Asked Questions
Can I make these spring rolls in advance?
Yes, you can prepare the filling ahead of time and store it in the fridge for up to 2 days. When you’re ready to serve, simply fill the wrappers and fry them fresh. This method ensures the utmost crispiness when served.
Can I use different proteins other than chicken?
Absolutely! Feel free to swap the chicken for turkey, tofu, or even ground beef. The key is to ensure that the protein is cooked and well-seasoned to bring out the best flavors.
What dipping sauces pair well with these spring rolls?
These spring rolls are fantastic with a variety of dipping options, including sweet chili sauce, soy sauce, or even a homemade peanut sauce. Each sauce complements the flavors of the spring rolls in its unique way.
Can I bake these spring rolls instead of frying?
While frying offers the most crispiness, you can certainly bake them. Brush the spring rolls lightly with oil, place them on a baking sheet lined with parchment, and bake at 400°F (200°C) for 20-25 minutes or until golden brown. They might not be as crispy but still delicious!
What should I serve with Crispy Thai Chicken Spring Rolls?
These spring rolls pair beautifully with salads, soups, or rice dishes. Consider serving a light Asian coleslaw or a side of coconut rice for a complete meal.
Conclusion: These Crispy Thai Chicken Spring Rolls are not only easy to make but also incredibly rewarding. With a delightful crunch and a burst of flavor, they make any occasion special. Whether you’re serving them for a family dinner, at a party, or simply enjoying them as a snack, they’re sure to impress everyone. Don’t hesitate to experiment with different fillings to find your favorite!


