**Meta Title:** Crusty Italian Bread – Golden, Rustic & Chewy!
**Meta Description:** Bake the perfect crusty Italian bread at home! This golden, rustic loaf is wonderfully chewy and bursting with flavor, perfect for any meal.
—
Have you ever walked past a bakery and been enchanted by the aroma of fresh bread wafting through the air? The golden crust, the warm embrace of rising dough, and that delightful crunch as you slice into it — it’s a moment that captivates the senses. If you’ve ever wished to recreate that magical experience in your own kitchen, then this Crusty Italian Bread recipe is your golden ticket!
There’s nothing quite like the satisfaction of pulling a gorgeous loaf of bread out of the oven, its crust crackling, and the interior promising a tender chew that makes you want to keep going back for more. This classic Italian bread is not only delicious but also simple to master. Let’s embark on this baking adventure together!
What is Crusty Italian Bread?
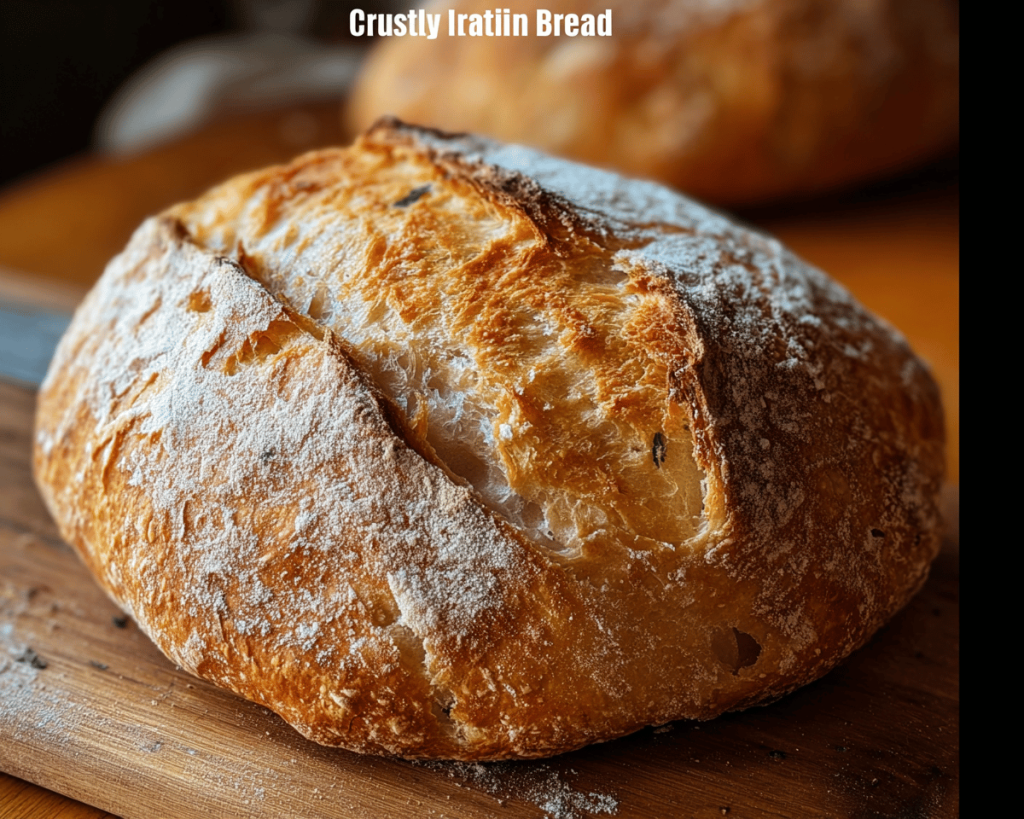
Crusty Italian Bread, or *Pane Casereccio*, is more than just a loaf; it’s a testament to the art of bread-making. Characterized by its **golden, crispy crust** and a **soft, chewy interior**, it’s a rustic delight that makes every meal feel special. This bread is typically made using a simple combination of flour, water, yeast, and salt, allowing the flavors to shine through.
The allure of this bread lies in its **textural contrast**: the outer crust is thick and crunchy, while the inside is airy and pillowy. It’s the kind of bread that begs to be paired with rich olive oils, hearty soups, or simply enjoyed with a generous slathering of butter. When you take a bite, the crust crackles beautifully, and the dough yields just the right amount, offering a wonderfully chewy experience.
This bread transcends mere sustenance; it’s a bonding experience at the dinner table, and its aroma wafts memories of family dinners and cozy gatherings. Whether you’re dipping it into a bowl of marinara sauce or savoring it alongside a rich stew, Crusty Italian Bread is a beloved staple that has stood the test of time.
Why You’ll Love This Crusty Italian Bread
Here are a few reasons why this bread deserves a spot in your kitchen:
– **Simple Ingredients**: With just a handful of ingredients, you’ll have all you need to create bakery-quality bread at home. It’s perfect for anyone looking for a basic yet delicious recipe!
– **Incredible Aroma**: The smell of bread baking is one of life’s simple pleasures. As your bread rises and cooks, your home will be filled with a comforting, fragrant aroma.
– **Versatile Uses**: This bread is perfect for sandwiches, served alongside soups, or simply enjoyed on its own with olive oil or butter. You’ll find endless ways to appreciate this crusty creation.
– **Impressive Homemade Touch**: There’s something extraordinarily satisfying about making bread from scratch. Your family and friends will be impressed when they taste the love you put into this rustic loaf.
– **Healthier Alternative**: Homemade bread means you know exactly what goes into it, making it a healthier choice compared to store-bought options laden with preservatives.
– **Perfect for Meal Prep**: Bake a couple of loaves at once, and you’ll have bread ready for several meals throughout the week. It also freezes beautifully for later use!
– **Bonding Experience**: Baking can be a communal activity, perfect for getting the kids involved or sharing a moment with loved ones in the kitchen.
Ingredients You’ll Need
Here’s a straightforward list of the ingredients required for your Crusty Italian Bread:
– **4 cups of all-purpose flour**: The base of your bread, providing structure. You can substitute bread flour for a chewier texture.
– **1 and 1/2 cups of warm water**: Essential for activating the yeast. Make sure it’s warm to the touch, but not hot!
– **2 teaspoons of active dry yeast**: This will help your dough rise beautifully.
– **2 teaspoons of salt**: For flavor and to control yeast fermentation.
– **1 teaspoon of sugar**: Optional, but it helps the yeast to bloom faster by providing a bit of sweetness.
– **Extra flour for dusting**: Keep some handy for your work surface for kneading the dough.
How to Make Crusty Italian Bread
Ready to get your hands doughy? Let’s transform those ingredients into a delectable loaf in just a few simple steps.
**Step 1: Activate the Yeast**
In a small bowl, combine the **warm water**, **yeast**, and **sugar**. Stir gently and let it sit for about 5–10 minutes until it becomes frothy. This indicates that your yeast is alive and kicking!
**Step 2: Combine the Dry Ingredients**
In a large mixing bowl, whisk together the **flour** and **salt**. Make a well in the center and pour in your frothy yeast mixture.
**Step 3: Bring it Together**
Using a wooden spoon, mix the ingredients until they begin to form a shaggy dough. You might find it easier to get in there and use your hands to combine everything fully. Don’t worry if it feels sticky; that’s just the magical start of your crusty loaf!
**Step 4: Knead the Dough**
On a lightly floured surface, turn out your dough and knead it for about 10 minutes. You are looking for a smooth and elastic texture. If the dough is too sticky, sprinkle a little more flour. Feel it transform beneath your hands — it should become silky and resilient.
*Pro Tip*: If you’re short on time, you can use a stand mixer fitted with a dough hook for this step and knead for about 5 minutes.
**Step 5: First Rise**
Shape the dough into a ball and place it in a greased bowl, turning to coat the surface. Cover it with a damp cloth or plastic wrap and let it rise in a warm place for about 1-2 hours, or until it has doubled in size.
While waiting, take a moment to enjoy that aroma wafting from your kitchen. This is the magic of bread-making!
**Step 6: Shape the Loaf**
Once your dough has risen, punch it down to release the air. Turn it out onto a floured surface and knead it gently for just a minute. Shape it into a round or oval loaf, depending on your preference. Place it on a parchment-lined baking sheet or in a well-floured proofing basket.
**Step 7: Second Rise**
Cover the shaped loaf lightly and let it rise again for about 30-60 minutes. This second rise will give you that signature airy texture.
**Step 8: Prepare for Baking**
Preheat your oven to 450°F (230°C). If you want a beautiful crust, place a cast iron skillet or a baking tray at the bottom of the oven during preheating. Just before you put your bread in, add about a cup of hot water to the skillet to create steam — this helps to develop a wonderful crust.
**Step 9: Score the Dough**
Once your dough has finished rising, use a sharp knife or a lame to make a few shallow slashes on the top of the bread. This helps with the expansion of the dough while baking.
**Step 10: Bake the Bread**
Transfer your loaf to the oven (remember, it’s hot, so be careful!). Bake for about 25-30 minutes, or until the crust is golden brown and the loaf sounds hollow when tapped on the bottom.
Let your fresh loaf cool on a rack for at least 30 minutes before slicing. The waiting is truly the hardest part!
Expert Tips, Tricks & Variations
1. **Hydration Levels**: Feel free to adjust the water amount slightly for your desired chewiness and crustiness. More water generally yields a better crust.
2. **Flavor Boost**: Add herbs like rosemary or thyme to the dough for a delightful twist. You can also mix in shredded cheese for flavor!
3. **Longer Rise**: For more depth of flavor, let your dough rise slowly in the refrigerator overnight. Bring it back to room temperature before baking.
4. **Crusty Finish**: For an extra crusty exterior, mist the bread with water right before you close the oven door. Repeat a couple of times in the first 10 minutes of baking.
5. **Using a Dutch Oven**: For superior crust, bake your loaf in a preheated Dutch oven. Just cover it with the lid for the first 20 minutes, then remove it to allow for browning.
What to Serve With Crusty Italian Bread
Now that your masterpiece has emerged from the oven, it’s time to consider how to enjoy it:
– **Olive Oil & Balsamic Vinegar**: Classic for a reason. Dip slices of your crusty bread in rich olive oil or tangy balsamic vinegar for an unforgettable starter.
– **Hearty Soups**: Pair this bread with a bowl of minestrone or tomato basil soup. The crunch of the crust contrasts beautifully with the smooth textures of the soup.
– **Cheeses & Charcuterie**: Create a rustic charcuterie board featuring assorted cheeses, salami, olives, and grapes. The bread makes for an excellent vehicle for toppings!
– **Stews & Sauces**: Drench your slices in flavorful sauces or stews, perfect for soaking up every bit of deliciousness.
– **Breakfast Toasts**: Use slices for avocado toast with a sprinkle of red pepper flakes or serve with poached eggs for a delightful breakfast.
Storage, Freezing & Meal Prep
Proper storage of your bread is key to ensuring freshness:
– **Room Temperature**: Keep your crusty Italian bread in a paper bag or a bread box, which helps maintain its crust. Avoid plastic bags, as they can make the crust soggy.
– **Freezing**: If you want to save it for later, wrap your loaf tightly in plastic wrap and then aluminum foil. It can be frozen for up to 3 months. When ready to enjoy, thaw at room temperature and reheat in the oven for a few minutes.
– **Meal Prep**: Consider doubling the batch and freezing one loaf for easy access during busy weeks. Just think of the joy you’ll have on a chilly night when you can whip up fresh bread in no time!
Frequently Asked Questions
**1. Can I use whole wheat flour?**
Yes! You can use a mix of all-purpose and whole wheat flour for a nuttier flavor. Just keep in mind that whole wheat flour absorbs more water, so adjust accordingly.
**2. How long does it take to make Crusty Italian Bread?**
From start to finish, it will take about 3-4 hours, including rising time. But most of that time is waiting while your dough works its magic!
**3. Why is my bread dense?**
If your bread turns out dense, it could be due to not kneading enough or not allowing it to rise adequately. Make sure to give it plenty of time to double in size.
**4. Can I make this without yeast?**
This recipe relies on yeast for that lovely rise and chew. However, you can use sourdough starter instead, adjusting the water and flour content accordingly based on your starter’s hydration.
**5. What’s the best way to reheat leftover bread?**
To revive leftover crusty bread, preheat your oven to 350°F (175°C) and place it directly on the rack for about 10-15 minutes to restore its crispy exterior.
In conclusion, baking Crusty Italian Bread is not just about the end product, but the joy of creating something with your own hands. Each loaf tells a story, fills your home with warmth, and delights your family and friends.
Now it’s your turn — grab your ingredients and create this magic in your kitchen tonight! Don’t forget to tag me when you try it! Your loaf of crusty goodness awaits.