Prep time: 20 minutes
Cook time: 12 minutes
Total time: 32 minutes
Servings: 24 cookies
There’s nothing quite like the aroma of freshly baked cookies wafting through your kitchen. When it comes to comfort food, **Gingerbrave Cookies**—also known as easy ginger cookies for spring—step into the spotlight with their perfect blend of sweet and spicy flavors. You’ve probably encountered countless cookie recipes, but these cookies have a special charm. They evoke memories of springtime gatherings, cozy afternoons, and sharing treats with family and friends.
Ginger cookies are not only delicious; they are also incredibly easy to whip up, making them perfect for both beginner bakers and seasoned pros alike. In this guide, you’ll uncover everything you need to know: from the glorious taste and texture of the cookies to essential tips for baking success. Plus, I’ll share some exciting variations to make this cookie recipe truly your own.
What Is Gingerbrave Cookies (Easy Ginger Cookies for Spring)?
Gingerbrave Cookies are a delightful, soft, and slightly chewy treat that beautifully balances spicy **ginger** and sweet molasses. Traditionally associated with holiday baking, these cookies have become increasingly popular in spring, thanks to their light texture and aromatic flavor profile. The history of ginger cookies dates back centuries and can be traced to medieval European baking, where spices were used to both flavor and preserve food.
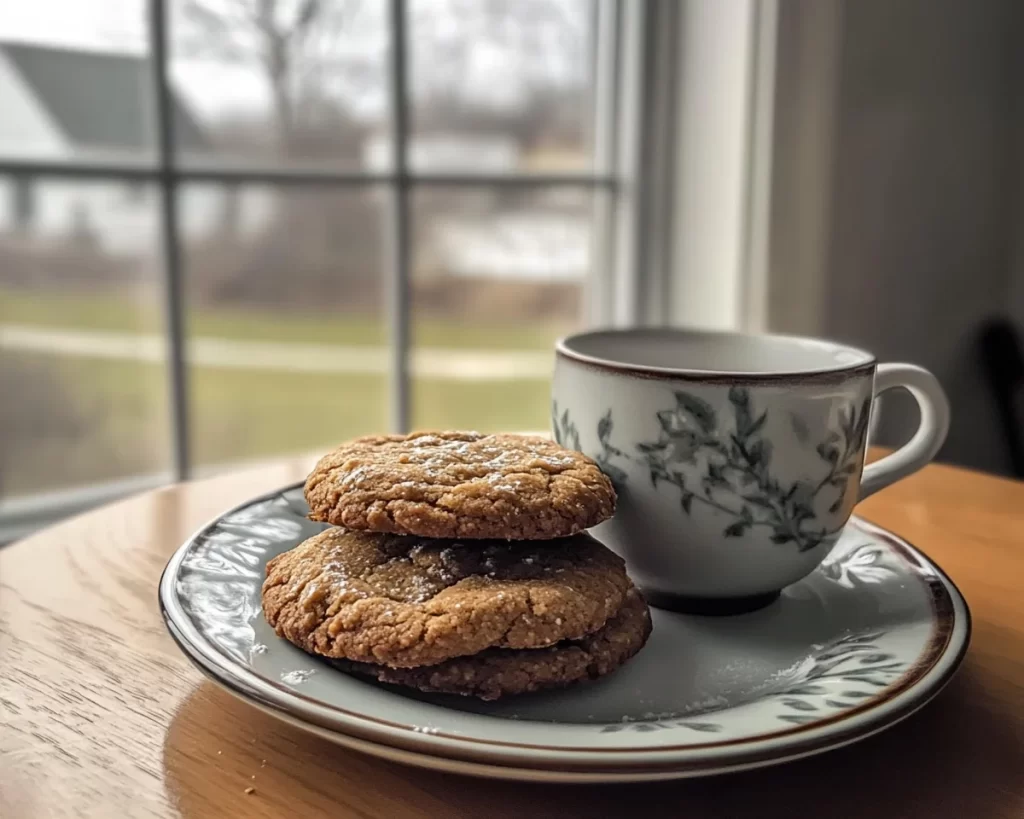
The texture of Gingerbrave Cookies is pleasantly soft with just the right amount of chewiness. When baked correctly, they achieve a beautiful golden-brown hue, offering a slight crisp on the edges while remaining tender in the center. The **warming spices** of ginger, cinnamon, and nutmeg create a sweet, spicy heat that dances on your palate, making it hard for anyone to eat just one!
When prepared correctly, these cookies are not only delicious but also versatile. They can be enjoyed with a cup of tea or coffee, shared as a gift, or even used as a fun addition to a springtime dessert table. This recipe will walk you through creating the perfect batch of Gingerbrave Cookies, ensuring you’ll impress family and friends with both flavor and presentation. Get ready to dive into this scrumptious baking adventure!
Why You’ll Love This
The reasons to love these cookies extend far beyond their mouthwatering taste. First, they are incredibly simple to make, requiring minimal ingredients and equipment. You’ll find that even those who may feel intimidated by baking can easily follow this recipe. The process is forgiving, allowing flexibility for those who may not have exact measurements on hand.
Another key benefit is cost-effectiveness. With affordable pantry staples like **flour**, sugar, and **ginger**, making these cookies won’t break the bank. Plus, they are perfect for feeding a crowd or for busy families looking to have an enjoyable yet budget-friendly treat.
Moreover, Gingerbrave Cookies are delightful in their **versatility**. You can enjoy them as they are, dress them up with icing, or even stuff them with fillings for an unexpected twist. Many people might think of ginger cookies as just a winter treat, but they shine just as brightly in the spring, adding a festive note to any celebration. Avoid the common pitfall of over-spicing, as it can lead to overpowering flavors. But fret not! This recipe ensures a well-balanced harmony of flavors, so you can enjoy them just the way they were meant to be.
Ingredients You’ll Need
To whip up a delectable batch of Gingerbrave Cookies, gather the following ingredients:
- 2 ½ cups all-purpose flour – The base of our cookies, flour gives structure. You can substitute with **gluten-free flour** for a gluten-free option.
- 2 teaspoons ground ginger – This is the star of the show, offering that signature spice. Fresh ginger can be used for a more vibrant flavor.
- 1 teaspoon ground cinnamon – Adds warmth and depth. You can also try cardamom for a unique twist.
- ½ teaspoon ground nutmeg – Enhances the flavor profile—freshly grated nutmeg is highly recommended.
- ½ teaspoon baking soda – Helps cookies rise and adds a delightful texture.
- ½ teaspoon salt – Basics like salt are crucial. It enhances sweetness and balances the flavors.
- ½ cup unsalted butter, softened – Contributes richness and moisture. You can replace it with coconut oil for a dairy-free option.
- 1 cup brown sugar – For sweetness and a chewy texture; light or dark can both work.
- 1 large egg – Helps bind the ingredients together; you can use a flax egg for a vegan variant.
- ¼ cup molasses – Deepens flavor and adds moisture; can substitute with honey for a different profile.
- ½ cup granulated sugar – Used for rolling the cookies for a beautiful finish.
Each ingredient plays a vital role in achieving that perfect blend of flavors and textures, ensuring you have a delightful treat to enjoy or share.
How to Make
Creating Gingerbrave Cookies is a straightforward process that can yield delicious results with just a few steps. Here’s how to make them:
- Prepare Your Oven and Baking Sheets. Preheat your oven to 350°F (175°C). Grease or line your baking sheets with parchment paper to prevent sticking. This minimizes cleanup and ensures evenly baked cookies.
- Mix Dry Ingredients. In a large mixing bowl, whisk together the flour, ground ginger, ground cinnamon, nutmeg, baking soda, and salt. Mixing these dry components helps ensure that the leavening agents are evenly distributed, which is crucial for the rise of your cookies.
- Blend Butter and Sugars. In a separate bowl, beat the softened unsalted butter and both brown and granulated sugars until the mixture is light and fluffy. This process introduces air into the dough, making for lighter cookies. Make sure your butter is at room temperature for the best texture.
- Add Egg and Molasses. Beating in the egg and molasses should be done until combined. The molasses adds that beautiful deep flavor, along with moisture. It’s essential to scrape down the sides of the bowl to ensure everything is blended well.
- Combine Wet and Dry Ingredients. Gradually add your dry ingredients to the wet mixture, stirring until just combined. Avoid overmixing at this stage, as it can lead to tough cookies. You want to see some flour pockets, so just mix until you no longer see dry flour.
- Shape the Cookies. Using a cookie scoop or your hands, take portions of dough and roll them into balls, about 1 inch in diameter. Roll these in the coarse granulated sugar for added sweetness and a lovely sparkle. Place them on the prepared baking sheets, leaving space for spreading.
- Bake the Cookies. Bake in the preheated oven for about 10-12 minutes, or until the edges are set but the centers look slightly underbaked. They’ll continue to firm up as they cool, offering that perfect chewy texture.
- Cool and Enjoy! Once out of the oven, let the cookies sit on the baking sheet for 5 minutes before transferring them to a wire rack to cool completely. This resting time helps ensure that the centers remain chewy while the edges get that ideal crispiness.
You’ve now completed the art of crafting Gingerbrave Cookies! The balance of warmth and sweetness will remind you of cozy spring days spent with loved ones.
Variations & Substitutions
Spiced Gingerbrave Cookies: Want to kick things up a notch? Add 1 teaspoon of **allspice** or a mix of ground cloves along with the existing spices. This will deepen the cookie’s personality and provide a more complex flavor profile that resonates with those who enjoy richer spices. These cookies appeal to those who love a warm, spiced aroma filling their home.
Chocolate Chip Gingerbrave Cookies: If you’re looking to satisfy a chocolate craving, this is the perfect variation. Add about 1 cup of **semi-sweet chocolate chips** to the dough before baking. This change creates a delightful contrast between the warm spices and the richness of chocolate, making them irresistible for both kids and adults. You’ll have a fun twist that appeals to chocolate lovers.
Gluten-Free Gingerbrave Cookies: For those with gluten sensitivities, simply substitute all-purpose flour with a 1:1 gluten-free flour blend. This adjustment allows everyone to enjoy the unique flavors of ginger cookies without any discomfort. Use a gluten-free flour mix that includes xanthan gum for the best texture.
Vegan Gingerbrave Cookies: To make this a plant-based treat, swap the egg for a flax egg (1 tablespoon ground flaxseed mixed with 2.5 tablespoons water, let sit for 5 minutes). Use coconut oil in place of butter and replace molasses with maple syrup for a slightly different but equally delectable flavor. These changes maintain the softness and chewiness of the original recipe while catering to those following a vegan lifestyle.
Frosted Gingerbrave Cookies: For an eye-catching dessert, consider frosting your cookies with a simple glaze made of powdered sugar and milk (or a non-dairy alternative). Simply combine them until smooth and drizzle over cooled cookies for a sweet finishing touch. This variation adds not just flavor but also a playful, colorful presentation that’s perfect for any gathering.
Each variation offers unique experiences, allowing you to customize Gingerbrave Cookies to your taste preference or dietary requirement.
Common Mistakes to Avoid
Baking is an art, and like any art form, there are common pitfalls to watch out for when making Gingerbrave Cookies. One of the most frequent mistakes is **overbaking**. Aim for that perfect balance where the edges are set, but the centers remain slightly underbaked. This ensures a soft, chewy cookie. Look for a light golden hue at the edges while the center appears a little soft.
Another common conundrum is incorrect **measuring of ingredients**. If you scoop your flour directly from the bag, you could end up with too much, leading to dense cookies. Instead, spoon it into a measuring cup and level it off for accurate results. This method helps maintain the light and fluffy texture you desire in your cookies.
Don’t forget to **let the dough chill** if you find it too soft to handle. Chilling the dough enables flavors to develop and helps with firming up the cookies, improving their final shape and texture. Lastly, be cautious about substituting ingredients without understanding how they interact. Not all substitutions yield the same results, which can lead to disappointing outcomes.
Storage, Freezing & Reheating Tips
To keep your Gingerbrave Cookies fresh, store them in an airtight container at room temperature. They will stay lovely for up to a week. If you happen to have an abundance of cookies (which is often the case), consider freezing them for later enjoyment. To freeze, simply place cooled cookies in a single layer on a baking sheet, freeze for about an hour, and then transfer to a freezer-safe bag or container. They can last up to three months in the freezer.
When you’re ready to enjoy your frozen cookies, reheat them in a preheated oven at 350°F (175°C) for about 5-7 minutes or until warmed through. Your kitchen will be filled with that scrumptious ginger aroma once again, making it feel like cookie day all over!
For any cookies that stay out longer than a week, you can also freeze them to prevent spoilage. Remember to refrigerate any dough that you can’t bake immediately, as it keeps better when chilled.
Frequently Asked Questions
Can I make these cookies ahead of time?
Absolutely! Gingerbrave Cookies can be made ahead of time and stored in an airtight container. You can also prepare the dough and freeze it for later baking. Just roll it into balls and freeze; then bake straight from the freezer, adding an extra couple of minutes to the cook time.
What kind of molasses is best for this recipe?
For Gingerbrave Cookies, **light molasses** is preferred because it has a milder flavor and isn’t too overpowering. Dark molasses can also be used, but it will contribute a richer flavor, which may or may not be what you’re seeking in these cookies.
Can I substitute fresh ginger for ground ginger?
Yes, you can substitute fresh ginger for ground ginger. However, you’ll need to use a larger amount—about three times the amount of fresh ginger compared to dried, as fresh ginger is less concentrated. Adjusting the quantities can create a delightful burst of fresh flavor, but be careful not to overpower the cookie.
Do I need to chill the dough before baking?
Chilling is optional but can be immensely helpful, especially in warmer climates. It helps solidify the fat in the dough, yielding a thicker cookie that doesn’t spread as much when baking. For the best results, chill the dough for at least 30 minutes before baking.
How can I tell when my cookies are done baking?
The best way to judge cookie doneness is by looking at the edges. When the edges are set and lightly golden but the centers still appear a bit underdone, they are finished. The cookies will continue cooking on the baking sheet for a short while after removing them from the oven, creating that perfect chewy texture.
Conclusion:
Gingerbrave Cookies are not just about satisfying a sweet tooth; they also provide a sensory experience that conjures memories and laughter shared with loved ones. Their delightful mix of flavors and the comforting aroma that pervades your kitchen will have you baking batch after batch. Whether enjoyed fresh out of the oven or creatively customized to suit varying tastes, they are sure to become a cherished part of your baking repertoire. So roll up your sleeves, gather those ingredients, and get baking today! You won’t regret the sweet reward this treat brings into your life. Share your versions or experiences with these cookies—I’d love to hear from you!


