Prep time: 20 minutes
Cook time: 12 minutes
Total time: 32 minutes
Servings: 24 cookies
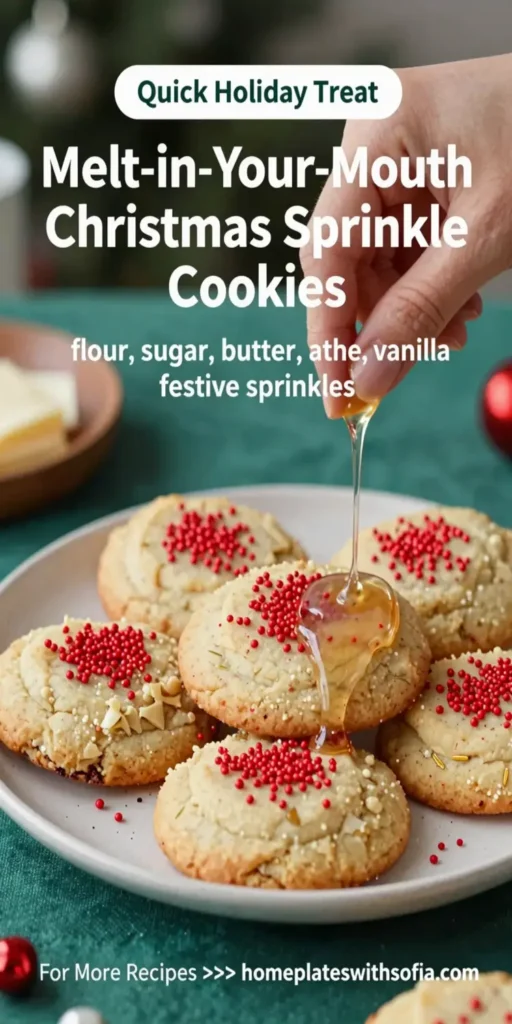
There’s nothing quite like the aroma of fresh cookies wafting through your home during the holiday season. These Melt-in-Your-Mouth Christmas Sprinkle Cookies are not only a splendid treat but also a delightful way to bring joy to family gatherings or simply enjoy with a warm cup of tea. The combination of a buttery cookie base layered with festive sprinkles makes every bite feel like a celebration.
What Is Melt-in-Your-Mouth Christmas Sprinkle Cookies?
Melt-in-Your-Mouth Christmas Sprinkle Cookies are a cheerful, buttery cookie that combines rich flavors with a texture that crumbles effortlessly. Made with simple yet effective ingredients, these cookies will instantly become a favorite in your holiday baking repertoire. The addition of vibrant sprinkles makes them perfect for any festive occasion—be it Christmas, birthdays, or any celebration that calls for a touch of sweetness. Their melt-in-your-mouth quality truly elevates this cookie recipe, making it a must-try for both beginners and seasoned bakers.
Why You’ll Love This
You’ll love this recipe not just for its incredible taste but also for its simplicity. These cookies require minimal ingredients, making them budget-friendly, ideal for busy parents or kitchen beginners. They bake quickly and also offer a chance to bond with your children or friends during the preparation. The colorful sprinkles add a festive flair that can brighten up any dessert table, making your holiday gatherings enjoyable and memorable. Plus, they’re easy to customize, so you can personalize them with your favorite flavors or themes.
Ingredients You’ll Need
- 2 cups all-purpose flour: This is the foundation of the cookies, providing the right structure and texture.
- 1 teaspoon baking soda: This helps the cookies rise and become fluffy.
- 1/2 teaspoon salt: A key ingredient that enhances all the sweet flavors.
- 1 cup unsalted butter, softened: This provides richness and helps the cookies melt in your mouth.
- 1 cup granulated sugar: Adds sweetness and contributes to the cookies’ texture.
- 1/2 cup powdered sugar: This brings a slight sweetness and a smoother texture.
- 1 teaspoon vanilla extract: A fundamental flavor enhancer that elevates the cookie’s overall taste.
- 1/2 cup colorful sprinkles: These add visual appeal and joyful decoration.
How to Make
- Preheat your oven: First, preheat your oven to 350°F (175°C). This preparation step ensures even baking, so your cookies will have a deliciously golden edge.
- Mix dry ingredients: In a bowl, whisk together the all-purpose flour, baking soda, and salt. This blend helps incorporate all the leavening agents evenly into the dough.
- Cream butter and sugars: In another large bowl, cream the softened unsalted butter, granulated sugar, and powdered sugar together until it’s light and fluffy. This process typically takes about 3-4 minutes and helps to incorporate air, yielding a lighter cookie.
- Add the eggs and vanilla: Next, beat in the eggs one at a time, followed by the vanilla extract. Continue mixing until everything is thoroughly combined; the batter will be smooth and creamy.
- Combine wet and dry ingredients: Slowly add the dry ingredient mixture to the wet ingredients, continuing to mix until just combined. Be careful not to overmix, as this could make the cookies tough. The batter should be soft and slightly sticky.
- Fold in sprinkles: Gently fold in the colorful sprinkles until evenly distributed throughout the dough. This will create the beautiful speckled appearance in the finished cookies.
- Form the cookies: Using a tablespoon or a cookie scoop, drop rounded balls of dough onto a baking sheet lined with parchment paper. Make sure to leave adequate space between each cookie, as they will spread while baking.
- Bake: Place the baking sheet in the preheated oven and bake for 10 to 12 minutes or until the edges are golden and the centers are set but still soft. Don’t worry if they look slightly underbaked; they will continue to firm up as they cool.
- Cool: Once baked, remove from the oven and allow the cookies to cool on the baking sheet for about 5 minutes before transferring them to a wire rack to cool completely.
Variations & Substitutions
Chocolate Chip Variation: For a richer flavor, you can substitute half of the sprinkles with chocolate chips. This variation adds a delightful melt-in-your-mouth texture that contrasts beautifully with the crunchy sprinkles.
Nutty Surprise: Incorporate chopped nuts like walnuts or pecans into the dough to add a crunchy texture and deepen the overall flavor profile. Nuts also complement the buttery taste wonderfully.
Gluten-Free Option: To cater to gluten-free diets, replace all-purpose flour with a gluten-free flour blend. Ensure that the blend contains xanthan gum for better texture and rise.
Citrus Zest Addition: Adding zest from an orange or lemon brings a refreshing twist to these cookies, enhancing the flavor and adding an aromatic quality.
Holiday Themed Sprinkles: Use themed sprinkles for different holidays—like red and green for Christmas or pastel colors for Easter—to make the cookies visually appealing for any occasion.
Common Mistakes to Avoid
It’s essential to avoid overbaking these cookies, as they can quickly become dry and lose their delightful melt-in-your-mouth quality. Make sure to remove them from the oven while they are still slightly underbaked, as they will continue cooking on the baking sheet.
Another common mistake is not allowing the butter to soften properly before mixing. Using cold butter will not create the fluffy texture you desire; ensure it is softened to room temperature for optimal creaming.
Also, remember to measure your flour correctly. Spoon flour into your measuring cup rather than scooping it directly from the bag, which can lead to excess flour and denser cookies.
Storage, Freezing & Reheating Tips
For storage, ensure that your cookies are completely cooled before placing them in an airtight container to maintain freshness. They can be kept at room temperature for up to one week or in the refrigerator for up to two weeks.
If you plan to keep them longer, consider freezing the cookies. Place them in a single layer on a baking sheet until frozen, then transfer to a zip-top freezer bag with as much air removed as possible. They will last up to three months in the freezer. To reheat, allow them to thaw at room temperature or heat them for a few seconds in the microwave to regain that fresh-baked feel.
Frequently Asked Questions
Can I replace the butter with margarine? While comparing margarine with butter, butter gives a richer flavor and better texture for cookies. If you prefer margarine, go for a stick version for better results. But be aware that the cookies may spread more when made with margarine.
Can I use less sugar? Reducing sugar can affect the cookies’ structure, and while you can cut down slightly on the granulated sugar, it’s not advisable to drastically reduce it. Sugar helps with moisture retention, and losing too much can lead to dry cookies.
How can I make my cookies softer? To achieve softer cookies, avoid overbaking, and make sure to cream the butter and sugars well to incorporate air. Using brown sugar instead of granulated sugar can also add moisture and chewiness.
Are these cookies safe to eat raw? It’s advisable to avoid eating raw cookie dough due to the presence of raw eggs and flour, which may lead to foodborne illnesses. Baking the cookies is the safest way to enjoy them.
Can I add flavors like almond extract? Yes! Almond extract can be a delightful addition to the cookie dough, giving it an upscale taste. Just a half teaspoon can elevate the cookie’s flavor profile beautifully, so feel free to experiment with various extracts.
Conclusion: These Melt-in-Your-Mouth Christmas Sprinkle Cookies are not just a delightful treat; they embody the spirit of celebration. Enjoy making them, and don’t hesitate to share this easy and joyful cookie experience with family and friends!