Prep time: 30 minutes
Cook time: 15 minutes
Total time: 45 minutes
Servings: 12 rolls
If you’re searching for the perfect addition to your Mother’s Day brunch or any special family gathering, look no further than these luscious Mother’s Day Honey Butter Rolls! Imagine sinking your teeth into warm, fluffy rolls glazed with a sweet and creamy honey butter that melts in your mouth. These delightful rolls not only taste heavenly, but they also create a warm atmosphere around your dining table. There’s something special about sharing these homemade treats, as they’re more than just a dish; they’re a symbol of love and comfort.
This recipe is special because it perfectly balances simplicity and flavor. With just a handful of ingredients, you can whip up something truly memorable. These rolls can stand alone as a delightful side or serve as a sweet base for your celebratory meal. In the following sections, you’ll discover the full array of sensations that come with these rolls, from their soft pillowy texture to the tantalizing aroma that wafts through your kitchen during baking.
What Is Mother’s Day Honey Butter Rolls?
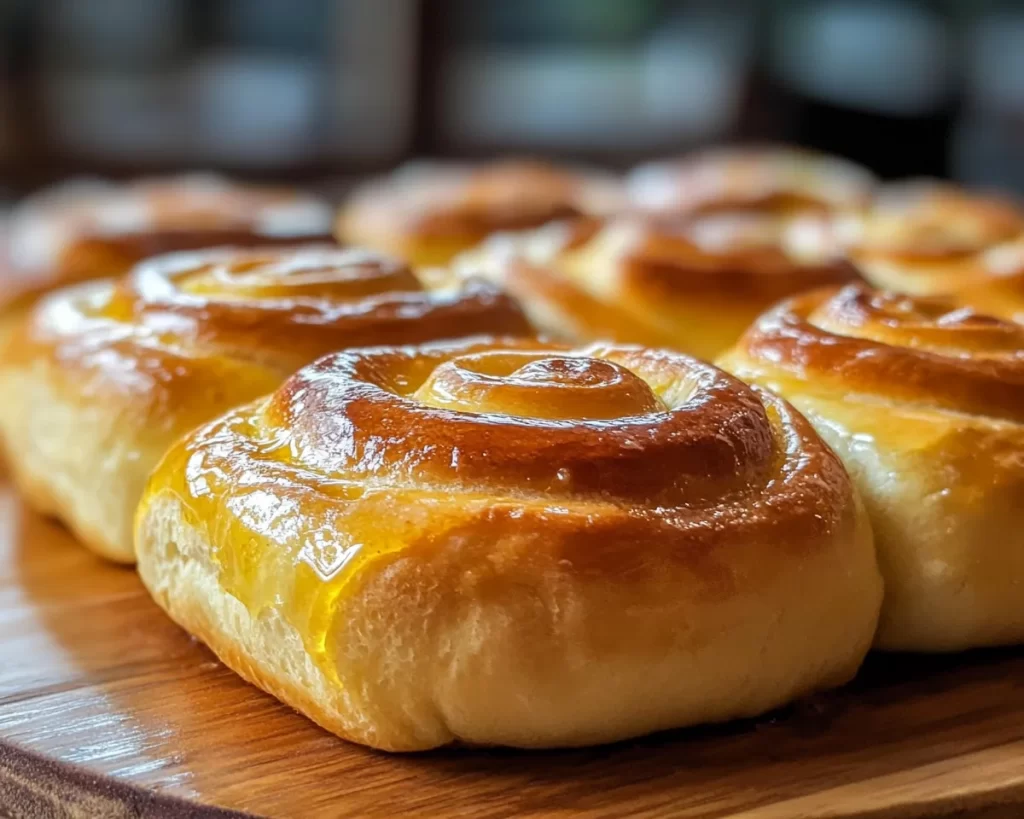
Mother’s Day Honey Butter Rolls are an indulgent twist on traditional dinner rolls, perfect for special occasions. These rolls have a soft, fluffy texture on the inside, with a lightly golden crust on the outside. The flavor profile of these rolls is enhanced significantly by the addition of honey and butter, resulting in a subtle sweetness that beautifully contrasts with their buttery richness. The rolls are often served warm, allowing the honey butter to melt into each fluffy bite.
The origins of honey butter rolls can be traced back to families seeking a way to enhance their dining experience by making their meals more special. These rolls are not just a side dish; they hold a nostalgic value for many. They’re often associated with love and family gatherings, making them a staple in various homes during celebrations and holidays. The joy of biting into a warm roll, especially when they are fresh out of the oven, creates delicious memories that families treasure.
Why You’ll Love This
You’ll love these Mother’s Day Honey Butter Rolls for their exquisite taste, ease of preparation, and versatility. First and foremost, the flavor is like no other; the combination of butter and honey creates a luxurious finish, complementing the soft rolls perfectly. They’re not just a dish but an experience of comfort food at its finest.
Preparing these rolls is simple enough for even beginner bakers, which opens up opportunities for everyone to participate in making something special for their loved ones. There’s no need for complicated techniques; the recipe guides you through each step seamlessly. Additionally, you can easily customize these rolls to suit various dietary preferences or tastes without compromising flavor.
One common misconception about rolls is that they take too long to make and require advanced skills. This recipe negates that idea by offering an approachable method that guarantees satisfying results. You’ll find they are even more delightful than store-bought options, and the warmth they bring to the table is second to none.
Ingredients You’ll Need
- All-purpose flour: This forms the base of your rolls and provides the ideal structure. You can substitute it with bread flour for a slightly chewier texture.
- Active dry yeast: This ingredient is essential for leavening your rolls. Always check the expiration date to ensure it’s active; otherwise, your rolls won’t rise properly.
- Warm milk: The warmth helps to activate the yeast. Be careful not to make it too hot, as this can kill the yeast.
- Butter: Adding richness and flavor, butter is a must; opt for unsalted butter for better control over the saltiness.
- Sugar: This sweetener not only adds flavor but also aids in activating the yeast for a better rise.
- Salt: This balances the flavors and strengthens the dough’s structure. Avoid omitting it, as salt is crucial for taste.
- Honey: Used in the butter glaze, this adds sweetness and a distinct flavor that elevates the rolls.
Each ingredient plays a pivotal role; understanding their functions helps you appreciate the beauty of the final product.
How to Make
- Prepare the yeast: In a small bowl, combine lukewarm milk with sugar and sprinkle the active dry yeast on top. Allow it to sit for about 5–10 minutes until it becomes frothy. This indicates that your yeast is alive and ready to work its magic.
- Mix the dry ingredients: In a large bowl, whisk together the all-purpose flour and salt. This step is crucial because it ensures that the salt is evenly distributed, which improves the flavor throughout the rolls.
- Combine wet and dry ingredients: Once the yeast mixture is frothy, pour it into the flour mixture, along with melted butter. Stir until a rough dough begins to form.
- Knead the dough: Transfer the dough to a floured surface and knead it for about 5–7 minutes. You’re looking for a smooth and elastic texture. This also allows the gluten to develop, which is essential for a fluffy roll.
- First rise: Place the kneaded dough in a greased bowl and cover it with a clean cloth. Let it rise in a warm draft-free area for about 1 hour, or until it has doubled in size. This step is integral for creating that heavenly fluffy texture.
- Shape the rolls: After the first rise, punch down the dough to release the air. Divide it into 12 equal pieces and shape each piece into a ball. Place the balls closely together in a greased baking dish, allowing for some spacing.
- Second rise: Cover the rolls again with a cloth and let them rise for another 30–45 minutes. They should puff up significantly during this time.
- Preheat the oven: While the rolls are rising, preheat your oven to 375°F (190°C). A good preheating ensures even baking.
- Bake the rolls: Bake the rolls for about 15–20 minutes or until they are golden brown. The aroma will fill your kitchen, making it hard to resist!
- Prepare the honey butter: While rolls are baking, combine softened butter and honey in a bowl. Mix until well blended. This heavenly topping is what makes these rolls irresistible.
- Brush the honey butter: Once the rolls are out of the oven, immediately brush them generously with the honey butter mixture. The warmth of the rolls will melt the butter, soaking into every crevice and adding a delightful gloss.
- Cool and serve: Allow the rolls to cool for a few minutes before serving. They’re exquisite when warm and pair wonderfully with toppings or can be enjoyed on their own.
These step-by-step instructions ensure that each aspect of the process is clear, making it easy for even the most novice baker to achieve perfect results. The satisfaction of pulling freshly baked rolls out of the oven is like no other!
Variations & Substitutions
Herbed Honey Butter Rolls: You can infuse the honey butter with fresh or dried herbs to add an aromatic twist. Rosemary or thyme pairs exceptionally well with honey, giving the rolls an earthier flavor. This variation is perfect for those who enjoy a savory touch alongside the sweetness.
Whole Wheat Honey Butter Rolls: For a healthier alternative, consider substituting half of the all-purpose flour with whole wheat flour. This not only adds a nutty flavor but also increases the fiber content. Keep in mind that you may need to adjust the liquid slightly, as whole wheat flour absorbs more moisture.
Gluten-Free Honey Butter Rolls: If you’re catering to gluten-sensitive individuals, using a high-quality gluten-free flour blend can work wonders. Make sure the blend includes xanthan gum for proper structure. The flavor will differ slightly, but the rolls can still be delicious when paired with the honey butter.
Stuffed Honey Butter Rolls: To add a surprise filling, consider stuffing the rolls with cheese, chocolate, or even fruit preserves. Simply flatten the dough balls, add a spoonful of your desired filling, and then reshape them. This adds an exciting element and can wow your guests!
Each variation not only brings a new flavor profile but also allows personalization to fit different dietary needs or preferences. Explore these options to find your perfect match!
Common Mistakes to Avoid
One critical mistake is not allowing the dough to rise properly. Skipping either the first or second rise can lead to dense rolls rather than light and fluffy ones. Ensure you provide a warm, draft-free environment for optimal yeast activity.
Another error is using cold ingredients. Ingredients such as milk and butter should be at room temperature to enable proper blending. Cold ingredients can significantly affect how dough rises and develops its desired texture.
Overbaking is also a common issue. Keep a close eye on the rolls during the final minutes of baking to avoid a dry, overly crusty exterior. A golden brown color is your best indicator of readiness.
Finally, neglecting the honey butter glaze can lead to a lackluster finish. Don’t skip this step; brushing melted honey butter over the warm rolls is what takes them from ordinary to extraordinary.
Storage, Freezing & Reheating Tips
To maintain the freshness of your Mother’s Day Honey Butter Rolls, store them in an airtight container at room temperature. They are best enjoyed within the first couple of days but can last up to four days if stored properly.
If you wish to extend their shelf life, these rolls freeze exceptionally well. To freeze, wrap each roll individually in plastic wrap and then place them in a freezer-safe bag. They can be frozen for up to three months. To reheat, simply let them thaw at room temperature for a few hours, then warm them in a preheated oven set at 350°F (175°C) for 10–15 minutes.
For food safety, always ensure your rolls have cooled completely before storing them. Moisture can create bacteria, leading to spoilage, so take care to keep them dry when wrapping.
Frequently Asked Questions
Can I make the dough in advance? Yes, you can prepare the dough ahead of time! After kneading, cover it well, and store it in the fridge. When you’re ready to bake, allow it to come to room temperature and proceed with the rising steps.
What can I serve with these rolls? These rolls pair beautifully with various dishes. Consider serving them alongside soups, salads, or main courses like roasted chicken. They can also complement breakfast spreads, making them versatile enough for any meal.
Can I use honey instead of sugar in the dough? While honey adds sweetness, be mindful that it also adds moisture. If substituting sugar with honey, you may need to reduce the liquid slightly to maintain the proper dough consistency.
Are these rolls suitable for vegetarians? Yes, these rolls are entirely vegetarian-friendly. However, if you’re catering to strict vegans, consider substituting honey with maple syrup for the honey butter glaze.
What if my rolls didn’t rise? If your rolls didn’t rise, check the yeast’s freshness, the temperature of your ingredients, and whether the dough had ample time to rise in a warm environment. For future batches, ensure you’re using active yeast and provide the right conditions for it to work effectively.
Conclusion:
The Mother’s Day Honey Butter Rolls are not just a mere addition to your table; they are a delightful experience filled with memories, flavors, and warmth. Their fluffy texture and sweet honey butter glaze will elevate your family gatherings, bringing everyone together over delicious food. Whether you stick to the classic recipe or venture into variations, these rolls promise satisfaction. I encourage you to try making them, put your spin on the recipe, and share the love through these delightful rolls. Get ready to create not just food but lasting memories this Mother’s Day—who knew baking could be so rewarding?


