Prep time: 30 minutes
Cook time: 15 minutes
Total time: 45 minutes
Servings: 24 cookies
Imagine the joy of a sunny spring day captured in a cookie. **Spring Cookies Decorated Simple for a Cheerful Celebration** is a delightful treat that brings warmth and happiness to any gathering. Whether crafted for a birthday party, a picnic, or simply to enjoy with family, these cookies are both delightful to eat and visually appealing. Their vibrant colors and cheerful designs bring a sense of freshness and joy, making them perfect for celebrating the season.
The beauty of these cookies lies not only in their taste but also in their versatility. You can customize them with various decorations to match any theme, making them ideal for busy parents or kitchen beginners looking to add a splash of color and fun to their baking repertoire.
What Is Spring Cookies Decorated Simple for a Cheerful Celebration?
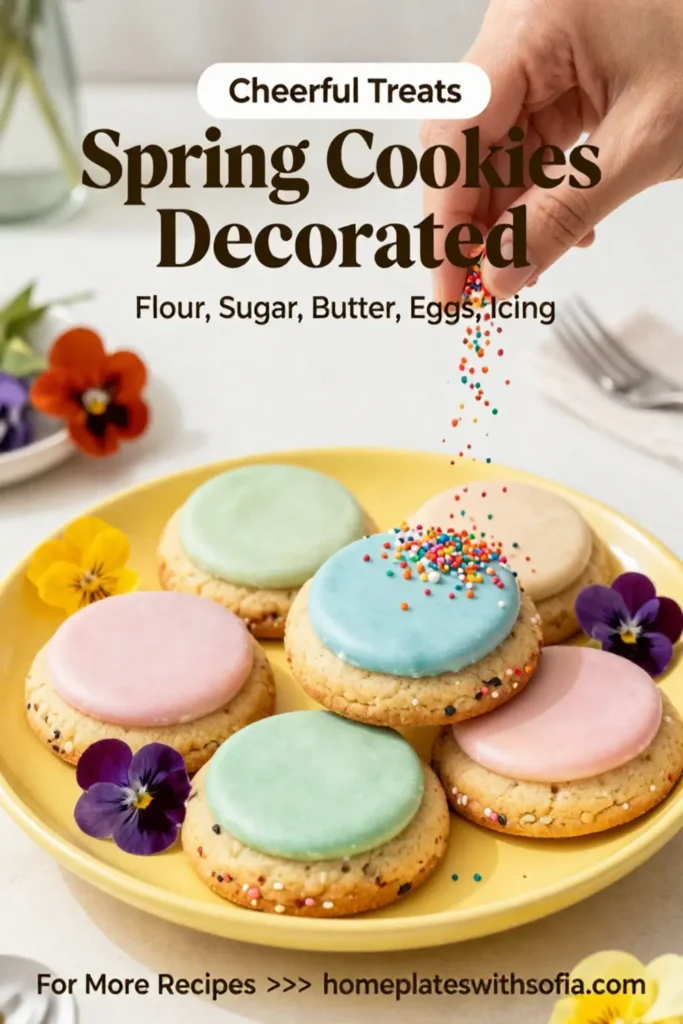
Spring Cookies Decorated Simple for a Cheerful Celebration is a beautifully designed sugar cookie that boasts a light texture complemented by a sweet, buttery flavor. Decorated with colorful icing, these cookies are not only delicious but are also a feast for the eyes. The use of vibrant colors and whimsical designs make them suitable for festive occasions.
The cookie dough itself is easy to prepare, making it an ideal choice for bakers of all skill levels. Using simple ingredients that you likely already have on hand, these cookies can be assembled quickly, perfect for those looking to whip up something sweet without much fuss.
Why You’ll Love This
1. **Versatility**: Spring Cookies can be decorated in a myriad of ways. From flowers to butterflies, the decorating possibilities are endless, suitable for any celebration.
2. **Simplicity**: The recipe is straightforward, making it accessible even for those who are new to baking. You’ll be amazed at how easy these cookies are to make.
3. **Fun Activity**: Decorating these cookies can serve as a great bonding activity for families or friends. Set up a decorating station and let everyone’s creativity shine.
4. **Delicious Flavor**: With a subtle sweetness balanced perfectly with the rich flavor of butter, these cookies are a delightful treat for your taste buds.
5. **Cheerful Presentation**: The colorful decorations not only make the cookies appealing but also add an extra layer of excitement to any gathering.
Ingredients You’ll Need
- 2 cups all-purpose flour: This provides the base for your cookies, giving them a sturdy yet tender texture that holds shape during baking.
- 1 teaspoon baking powder: A leavening agent that ensures your cookies rise perfectly and have a light, fluffy consistency.
- 1/2 teaspoon salt: Enhances the overall flavor of the cookies by balancing sweetness.
- 1 cup unsalted butter, softened: Adds richness and flavor; softened butter helps create a light and airy consistency.
- 3/4 cup granulated sugar: Sweetness is crucial, and granulated sugar assists in achieving the perfect slight crunch on the outside while keeping the inside tender.
- 3/4 cup powdered sugar: This sugar adds a fine sweetness and helps with smooth frosting consistency when decorating.
- 1 large egg: Binds the ingredients together and adds moisture to the cookies.
- 1 teaspoon vanilla extract: For an aromatic flavor that elevates the taste profile of the cookies.
- Gel food coloring (various colors): Used for decorating, making the cookies vibrant and festive.
- Royal icing: This is essential for decorating; it hardens nicely, allowing for beautiful designs.
How to Make
- Start by preheating your oven to 350°F (175°C). This will ensure that your cookies bake evenly and achieve that lovely golden color.
- In a medium bowl, combine the all-purpose flour, baking powder, and salt. Whisk together until well blended to ensure the leavening agent is evenly distributed throughout the flour.
- In a large mixing bowl, beat the softened butter and granulated sugar together until the mixture is light and fluffy. This typically takes about 3-4 minutes using an electric mixer at medium speed. The fluffiness leads to a tender cookie texture.
- Add the egg and vanilla extract to the butter mixture. Mix until fully incorporated, scraping down the sides of the bowl as needed.
- Gradually add the flour mixture to the wet ingredients, mixing on low speed until just combined. Be careful not to over-mix, as this can result in tougher cookies.
- Using a tablespoon or cookie scoop, drop rounded balls of dough onto parchment-lined baking sheets, spacing them about 2 inches apart.
- Bake in the preheated oven for 10-12 minutes, or until the edges are lightly golden and the centers are set. The cookies will continue to firm up as they cool.
- Allow the cookies to cool on the baking sheets for 5 minutes, then transfer them to wire racks to cool completely before decorating.
- While the cookies are cooling, prepare your royal icing. Divide into bowls and add gel food coloring of your choice to create a colorful palette for decorating your cookies.
- Once the cookies are completely cool, use piping bags or a small brush to decorate with the royal icing, creating fun spring-themed designs.
Variations & Substitutions
Chocolate Chip Variation: If you prefer a slightly different flavor, you can easily create chocolate chip spring cookies. Add 1 cup of semi-sweet chocolate chips to the dough after mixing in the flour. This will lend a delightful melty contrast to the sweetness of the sugar cookie base.
Gluten-Free Option: Swap the all-purpose flour with a gluten-free flour blend. Be sure to check that all other ingredients, such as baking powder and icing, are also gluten-free to prevent any cross-contamination.
Citrus Twist: For those who enjoy a zesty flavor, add the zest of one lemon or orange to the dough. This infusion will bring a refreshing touch that pairs beautifully with the sweetness of the cookies.
Nutty Addition: Toss in 1 cup of finely chopped nuts such as almonds or walnuts for a bit of crunch and nutty flavor. Ensure that everyone enjoying these cookies is not allergic to nuts if you choose this variation.
Common Mistakes to Avoid
One common mistake is **over-mixing the dough**. If you mix the ingredients too long after adding the flour, you risk developing gluten, leading to cookies that are chewy rather than tender. Always mix until just combined.
Another issue is **insufficient cooling time** before decorating. If you attempt to frost warm cookies, the icing will melt and not hold its shape. Ensure your cookies are completely cool to achieve perfect decorations.
Lastly, **using too much flour** can lead to dry cookies. Measuring flour accurately is crucial for the perfect texture. Use the spoon-and-level method for best results.
Storage, Freezing & Reheating Tips
To store your spring cookies, place them in an airtight container at room temperature for up to one week. Adding a piece of bread to the container can help keep the cookies moist.
For longer storage, you can freeze the cookies before or after decorating. Place the cookies in a single layer on a baking sheet until frozen solid, then transfer them to a freezer-safe bag or container. They will keep well for up to three months. When you’re ready to enjoy them, allow them to thaw at room temperature.
If you wish to reheat the cookies, do so gently in the oven at the lowest setting, checking frequently to prevent them from becoming hard.
Frequently Asked Questions
Can I use margarine instead of butter?
Yes, you can use margarine as a substitute for butter in this recipe. However, it may change the flavor slightly, and you should ensure that it’s softened before mixing. The overall texture may also differ.
What can I use instead of royal icing for decorating?
If you prefer not to use royal icing, you can substitute it with buttercream icing, glaze, or fondant. Keep in mind that each of these options will give a different texture and flavor to your cookies.
How can I make these cookies even more festive?
In addition to using vibrant food colors, you can sprinkle edible glitter, use themed cookie cutters, or personalize them with names or messages, making them perfect for parties or gifts.
Can I decorate these cookies in advance?
Absolutely! You can bake and decorate your cookies in advance. Store them properly in an airtight container until you’re ready to serve. However, it’s best to add any delicate decorations right before serving for that fresh look.
What other flavors can I experiment with in the cookie dough?
Feel free to explore adding flavors like almond, coconut, or even spices such as cinnamon or nutmeg to the dough. Each will give your cookies a unique taste that can delight your guests.
Conclusion: The **Spring Cookies Decorated Simple for a Cheerful Celebration** are a joyful addition to any gathering. With their delicious flavor and customizable designs, they are sure to brighten your festivities. Enjoy baking, decorating, and sharing these delightful cookies with friends and family, creating memories and smiles all around!