Prep time: 20 minutes
Cook time: 25 minutes
Total time: 45 minutes
Servings: 12 servings
Spring is the time of blossoming flowers, warming sunshine, and delightful gatherings, making it the perfect season for refreshing desserts. When I think of spring, I remember family picnics filled with laughter and sweet treats that burst with flavor. One dessert that captures this essence beautifully is the Lemon Strawberry Tart Cups, a tantalizing combination of tart lemon and juicy strawberries all nestled in delicate pastry cups. The beauty of this dish is not only its vibrant presentation but also its ease of preparation, allowing you to wow your guests without spending all day in the kitchen.
In this article, you’ll learn how to create these scrumptious tart cups that are perfect for any spring occasion. From selecting the best ingredients to mastering the process, I’ll guide you through it all. You will also discover handy tips, delectable variations, and answers to common questions. So, let’s dive into the whimsical world of Lemon Strawberry Tart Cups!
What Is Spring Desserts: Lemon Strawberry Tart Cups?
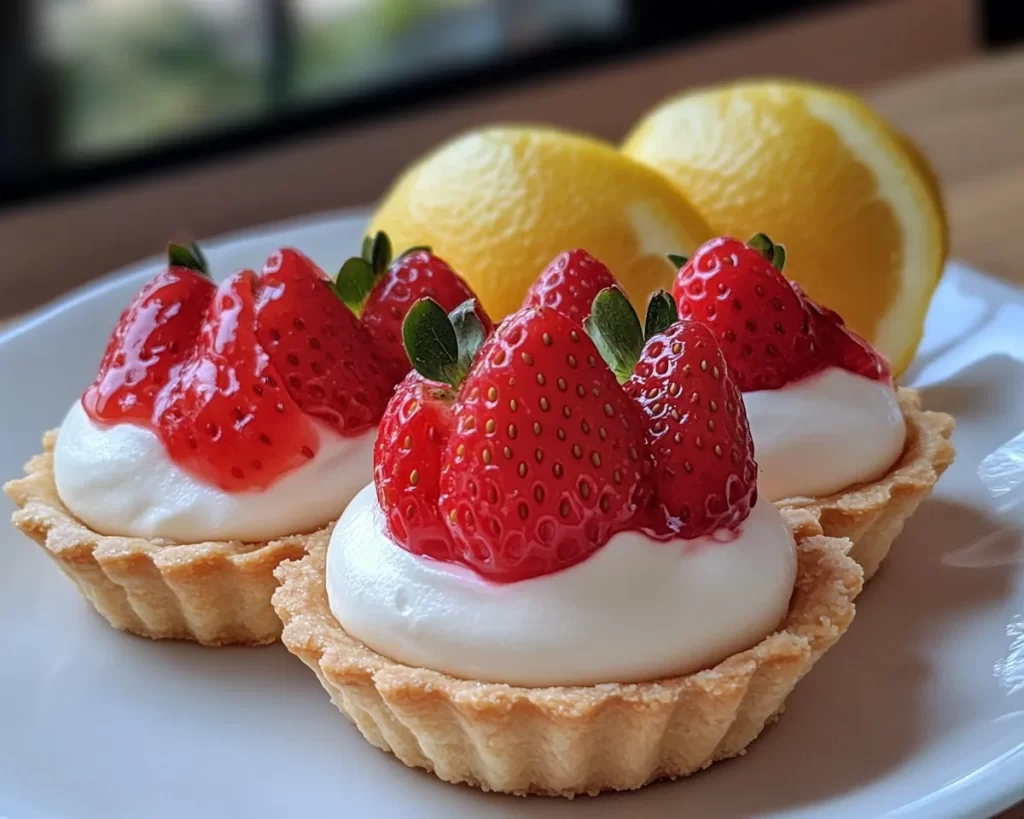
Lemon Strawberry Tart Cups are a delightful pastry treat that embodies the refreshing flavors of spring. Originating from French patisserie traditions, these mini tarts are typically filled with a creamy, custard-like filling that is both tart and sweet, thanks to the inclusion of fresh lemons. The *zesty lemon curd* perfectly complements the sweetness of the strawberries, providing a harmony of flavors that tantalize the taste buds.
The texture is equally delightful, with a buttery, melt-in-your-mouth crust cradling a smooth filling. Each bite offers a burst of citrus followed by the juicy sweetness of strawberries, making them an irresistible dessert option. The vibrant colors also contribute to their appeal, showcasing the beauty of seasonal ingredients in a fun and elegant way.
Depending on where you are, variations of this classic recipe may be found and cherished, highlighting the versatility of *tart* desserts. The Lemon Strawberry Tart Cups are not only enjoyed as a sweet treat but are also a representation of the art of pastry-making that many chefs take great pride in.
Why You’ll Love This
There are myriad reasons to fall in love with Lemon Strawberry Tart Cups. Firstly, the *taste* speaks for itself: the balance of tartness and sweetness creates a flavor explosion that is simply irresistible. Secondly, these tart cups are straightforward to prepare, which is a considerable benefit for busy parents or beginner cooks looking to impress guests. With just a few simple steps, you can create a stunning dessert that elevates your spring gatherings.
Additionally, these cups are versatile, allowing you to adapt the recipe according to your dietary needs or personal preferences. Whether you prefer gluten-free options or want to incorporate other fruits, this recipe can be easily modified. Furthermore, they are cost-effective, making use of seasonal ingredients like lemons and strawberries that are typically more affordable during the spring.
Another noteworthy aspect is that these tarts are suitable for various occasions—from family barbecues to more formal gatherings—making them a worthwhile addition to your dessert repertoire. Lastly, they not only taste delightful but also look visually appealing, making them the perfect centerpiece for your dessert table.
Ingredients You’ll Need
To create these sumptuous Lemon Strawberry Tart Cups, you’ll need the following ingredients:
- 1 ½ cups all-purpose flour
- ½ cup unsalted butter, cold and cubed
- ¼ cup granulated sugar
- 1 large egg, beaten
- ½ cup fresh lemon juice
- 1 cup granulated sugar (for the filling)
- 3 large eggs
- ½ cup heavy cream
- 1 tsp lemon zest
- 1 cup fresh strawberries, hulled and sliced
- Powdered sugar (for dusting)
Each ingredient has a specific role in creating these delightful tart cups. The *all-purpose flour* forms the base of the crust, providing structure, while the *cold butter* creates a flaky texture when mixed. The *granulated sugar* sweetens both the crust and the filling, enhancing the overall flavor. The *beaten egg* acts as a binding agent, ensuring the crust holds together nicely.
The *fresh lemon juice* is essential in creating the tart filling, offering a refreshing burst of flavor. The *heavy cream* adds richness and creaminess, making the filling luxurious. Lastly, the *fresh strawberries* not only bring sweetness and color but also add a burst of juiciness that complements the lemon beautifully.
How to Make
Follow these step-by-step instructions to craft your own Lemon Strawberry Tart Cups:
- Prepare the tart crust: In a mixing bowl, combine the 1 ½ cups of all-purpose flour and ¼ cup of granulated sugar. Next, add the ½ cup of cold butter cubes into the flour mixture. Use a pastry cutter or your fingers to work the butter into the flour until the mixture resembles coarse crumbs. This step is crucial for getting that flaky texture.
- Add the egg: Pour the beaten egg into the flour-butter mixture and mix until just combined. Be careful not to overwork the dough; you want it to be cohesive without becoming tough. If the dough feels too crumbly, you can add a tablespoon of cold water to help bring it together.
- Chill the dough: Shape the dough into a disc, wrap it in plastic wrap, and refrigerate for at least 30 minutes. This chilling step is essential as it prevents the crust from shrinking while baking, ensuring beautiful, crispy edges.
- Preheat the oven: While the dough is chilling, preheat your oven to 350°F (175°C). A properly preheated oven is crucial for achieving an even bake.
- Roll out the dough: Once the dough has chilled, remove it from the refrigerator and place it on a floured surface. Roll it out to about ⅛-inch thick. Using a round cutter or a glass, cut circles of dough to fit into a muffin tin. Press the dough circles into the muffin cups, ensuring there are no gaps.
- Pre-bake the crusts: Using a fork, poke a few holes in the bottom of each tart shell to prevent bubbling. Bake in the preheated oven for 10 to 12 minutes or until lightly golden. This initial bake sets the crust and helps keep it crisp when the filling is added later.
- Prepare the lemon filling: In a large bowl, whisk together ½ cup of fresh lemon juice, 1 cup of granulated sugar, 3 large eggs, and ½ cup of heavy cream. Mix until well combined, and you have a smooth, creamy filling.
- Add lemon zest: Incorporate 1 tsp of lemon zest into the filling for an extra punch of flavor. This small step enhances the overall citrus essence, making your tarts even more refreshing.
- Fill the crusts: Remove the pre-baked tart shells from the oven. Carefully pour the lemon filling into each shell, filling them about three-quarters full to allow space for bubbling while baking.
- Bake the tarts: Return the filled tarts to the oven and bake for an additional 15 to 20 minutes, or until the filling is set around the edges but slightly jiggly in the center. The filling will firm up as it cools.
- Cool the tarts: Once baked, remove the tart cups from the oven and allow them to cool on a wire rack. It’s important to let them cool completely before adding the strawberries and dusting with powdered sugar.
- Prepare the strawberries: While the tarts are cooling, slice your hulled strawberries and set them aside. Their fresh flavor will contrast beautifully with the tartness of the lemon filling.
- Assemble the tarts: Once the tarts have cooled completely, carefully top each one with sliced strawberries. You can arrange them in a decorative pattern for an elegant touch.
- Garnish: Finish with a light dusting of powdered sugar for that classic finish. It not only adds sweetness but also creates an appealing presentation.
- Serve and enjoy: These Lemon Strawberry Tart Cups are best served chilled and can be enjoyed as a sophisticated dessert for gatherings or just a delightful treat for yourself. Each bite offers a refreshing taste of spring!
Variations & Substitutions
Berry Medley Variation: Instead of using just strawberries, you can create a delightful mixed berry tart by incorporating raspberries, blueberries, or blackberries. This adds a burst of color and diverse flavors to your tart cups, elevating your dessert with a berry medley that’s both visually appealing and delectable. Each berry brings its unique taste, further enriching the experience. This variation is perfect for those who enjoy mixed fruit flavors or want a more colorful dessert that celebrates the bounty of spring fruits.
Gluten-Free Variation: If you or your guests have gluten sensitivities, you can easily adapt this recipe by using gluten-free all-purpose flour. Many brands offer blends that work excellently in place of regular flour. To ensure the best texture, you might want to add a tablespoon of cornstarch to the flour blend. This will help achieve that flaky crust you desire. Going gluten-free doesn’t have to mean sacrificing flavor or texture!
Vegan Variation: For a vegan-friendly option, substitute the eggs with ground flaxseed or chia seeds mixed with water as a binding agent. For the filling, you can use coconut cream instead of heavy cream, combined with organic cane sugar for sweetness. This modification allows you to enjoy all the flavors of the Lemon Strawberry Tart Cups while adhering to plant-based dietary preferences.
Common Mistakes to Avoid
Creating delicious Lemon Strawberry Tart Cups can be simple, but there are a few common mistakes to watch out for to ensure your tarts turn out perfectly. One of the most frequent errors is **overworking the dough.** Mixing the dough too much can activate the gluten, resulting in a tough crust instead of a light and flaky one. Instead, mix until just combined and avoid over-kneading.
Another potential pitfall is **not chilling the dough adequately.** Skipping this crucial step can cause your tarts to shrink while baking, affecting their shape and texture. Make sure to at least allow the dough to chill for 30 minutes in the refrigerator.
A third mistake is **underbaking the filling.** If the lemon filling is jiggly when removed from the oven, it’s important to let it cool completely as it will continue to set. However, if it looks overly runny or hasn’t set much, it likely needs more time in the oven. Keep an eye on it and do not hesitate to bake a little longer if needed.
Lastly, don’t forget that **presentation matters!** Avoid simply slapping the strawberries on top; take the time to arrange them beautifully for an appealing dessert that not only tastes great but also looks fabulous on your table.
Storage, Freezing & Reheating Tips
To keep your Lemon Strawberry Tart Cups fresh, store them in an airtight container in the refrigerator. If you plan to make them a day ahead, this storage solution will ensure the crust remains crisp while keeping the filling deliciously chilled.
If you happen to have leftovers, they can be stored for up to 3 days. However, keep in mind that the longer they sit, the softer the crust may become as it absorbs moisture from the filling. For the best texture, enjoy them fresh if possible.
While I wouldn’t recommend freezing the entire tart, if you’re looking to prepare ahead of time, you can freeze the crust alone. After baking and cooling the shells, wrap them tightly in plastic wrap, then place them in a freezer-safe container. When ready to use, simply thaw in the refrigerator, complete the filling, assemble, and top with fresh strawberries.
When reheating, the best method is to place the tarts in a warm oven for a few minutes to maintain the crust’s crispness. Avoid microwaving, as this can make the pastry soggy.
Frequently Asked Questions
Can I use frozen strawberries instead of fresh ones for the tarts? Yes, you can use frozen strawberries, but keep in mind that they may release more moisture when thawed. It’s best to let them thaw completely, pat them dry with a paper towel, and slice them before using them as a topping for the tarts. Fresh strawberries just celebrate the spring season so beautifully!
How can I make these tarts ahead of time? You can make the tart crusts and the lemon filling a day in advance. However, it’s best to fill and top the tart cups with strawberries just before serving to ensure the crust remains crisp and the berries stay fresh.
Are these tarts suitable for gluten-free diets? Absolutely! Substitute the all-purpose flour with a gluten-free flour blend to create a gluten-free version of the tart. You may also add cornstarch to mimic the texture of traditional flour. Just be sure to check if your other ingredients, like powdered sugar, are gluten-free as well.
What can I substitute for heavy cream in the filling? If you are looking for a lower-fat option, consider using *coconut cream* or *almond milk* thickened with a bit of flour for creaminess. Both alternatives can provide a subtle flavor that works well in this lemon filling.
How should I store leftovers? To maintain freshness, keep the tarts stored in an airtight container in the refrigerator. They are best enjoyed within 3 days, although the crust may soften a bit over time. For the best experience, serve them fresh.
Conclusion:
The Lemon Strawberry Tart Cups not only celebrate the vibrant flavors of spring but also encapsulate the ease of making an impressive dessert that truly stands out on any table. Their delightful combination of tart lemon and sweet strawberries is a showstopper that you and your guests will love. Don’t hesitate to try out different variations and make this recipe your own. Whether you have a gathering or simply wish to treat yourself, I encourage you to whip up a batch of these stunning tart cups. Expand your culinary repertoire and share this deliciousness with your loved ones. Happy baking!


