Prep time: 15 minutes
Cook time: 25 minutes
Total time: 40 minutes
Servings: 12 granola bars
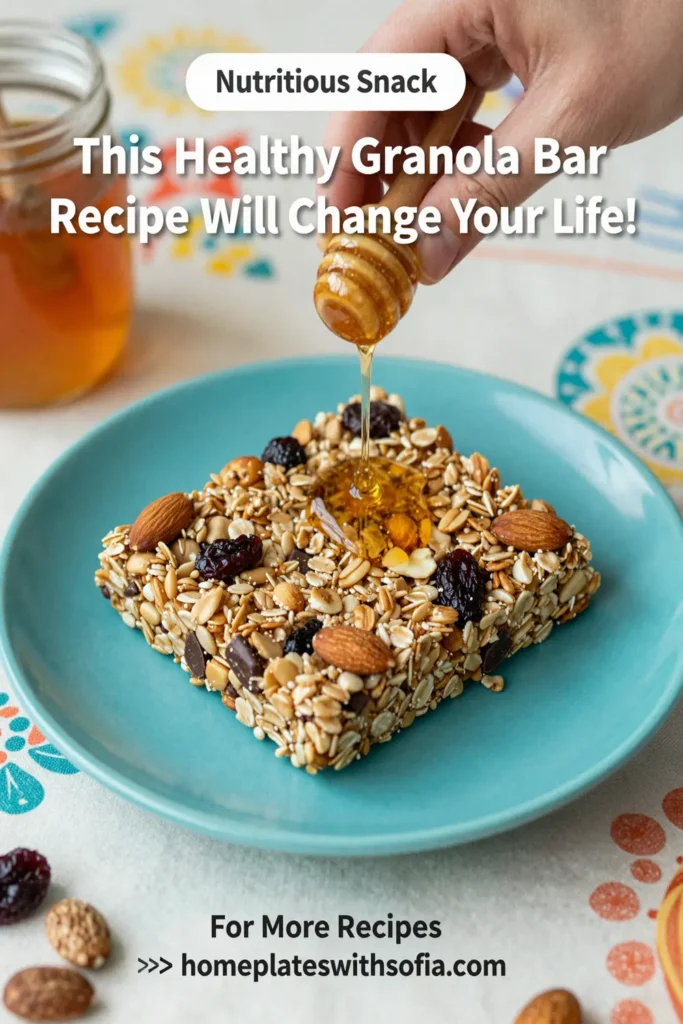
This Healthy Granola Bar Recipe Will Change Your Life! These homemade granola bars are not just easy to make but packed with nutrients that provide sustained energy throughout your busy day. Whether you’re a busy parent seeking a quick snack for your kids or just someone looking to eat healthier, this recipe is your answer. Forget the store-bought, sugary versions; these bars are customizable, delicious, and satisfying.
What Is This Healthy Granola Bar Recipe Will Change Your Life!?
This recipe for homemade granola bars features a delightful mix of wholesome oats, nuts, natural sweeteners, and optional add-ins like dried fruits or chocolate. What sets this recipe apart? It focuses on fresh, nutritious ingredients without any preservatives or unwanted additives. The result is a chewy, hearty snack that is not only a breeze to prepare but also aligns perfectly with any healthy eating plan you might have.
Why You’ll Love This
There are countless reasons to fall in love with this healthy granola bar recipe. Firstly, it is incredibly versatile. You can easily swap out nuts or dried fruits based on your preferences or what’s available in your pantry. Secondly, they are super easy to store, making them an ideal snack for meal prep. Overeating is less of a concern as well since you can easily portion them out for easy grab-and-go access. They appeal to a range of dietary needs—gluten-free, dairy-free, and packed with protein—and will surely satisfy your cravings without guilt.
Ingredients You’ll Need
- 2 cups rolled oats: The base of your granola bar, providing fiber and texture. Opt for gluten-free oats if needed.
- 1 cup nuts (e.g., almonds or walnuts): Adds healthy fats and a satisfying crunch. Chop them coarsely for optimal texture.
- ½ cup honey or maple syrup: This natural sweetener binds the ingredients together while imparting a rich flavor.
- ½ cup peanut or almond butter: Adds creaminess and extra protein. Choose a sugar-free version to keep it healthy.
- ½ cup dried fruits (e.g., cranberries or raisins): For added sweetness and chewiness. Ensure they are unsweetened if possible.
- ½ tsp vanilla extract: Enhances the flavor profile, making the bars taste homemade and comforting.
- A pinch of salt: Balances the sweetness and elevates all the flavors.
How to Make
- Preheat your oven: Start by preheating the oven to 350°F (175°C). Line an 8×8 inch baking dish with parchment paper, allowing some overhang for easy removal after baking.
- Mix dry ingredients: In a large bowl, combine the rolled oats, chopped nuts, and a pinch of salt. Stir until evenly mixed—this step ensures every bite is filled with that satisfying crunch.
- Add wet ingredients: In a separate bowl, stir together the honey (or maple syrup) and peanut butter. Microwave for about 20-30 seconds to make mixing easier, then mix in the vanilla extract.
- Combine mixtures: Pour the wet ingredients over the dry ingredients. Use a spatula to fold everything together until all the oats and nuts are evenly coated. If you’re adding dried fruit, now is the time to fold them into the mixture.
- Press into pan: Transfer the mixture into the prepared baking dish and use the spatula to firmly press it down. This step is crucial—compact bars hold together better.
- Bake: Place the dish in the preheated oven and bake for about 25 minutes, or until the edges turn golden brown. Keep an eye on them to prevent burning.
- Cool and cut: Allow the bars to cool completely in the dish before lifting them out using the parchment paper. Once cooled, cut them into 12 bars, as even portions make for better snacks.
Variations & Substitutions
Chocolate Chip Granola Bars: If you’re a chocolate lover, consider adding ½ cup of dark chocolate chips to the mixture. They’ll melt slightly during baking, creating gooey pockets of chocolate throughout the bars. This delicious variation not only satisfies chocolate cravings but also adds a richness that pairs beautifully with the nuttiness of the granola. These bars are perfect for a post-workout snack or a sweet treat after a busy day.
Nut-Free Version: For those with nut allergies, replace the nuts with additional seeds like pumpkin or sunflower seeds. You can also use sunflower seed butter instead of peanut or almond butter. This ensures you still get that rich texture and flavor without the allergens. Additionally, you might want to add cacao nibs or coconut flakes to enhance flavor and crunch.
Flavored Granola Bars: To bring some fun into your creation, consider adding spices such as cinnamon or pumpkin spice. Mix in about a teaspoon of your chosen spice into the wet ingredients for a flavorful twist. You can even make seasonal variations; adding pumpkin puree around fall or a zest of orange during summer can enhance freshness.
Savory Granola Bars: For a unique twist, swap out some sweet elements for savory ones. Consider adding seeds, shredded cheese, or even a hint of garlic powder for a protein-packed, savory treat. This variation can serve as a filling snack for those who prefer snacks without added sweetness.
Common Mistakes to Avoid
One common mistake is not pressing the mixture firmly enough into the pan. This leads to crumbly bars that fall apart easily. Ensure you pack it down tightly with the spatula or your hands. Another mistake is over-baking. Always keep an eye on the bars as baking times may vary depending on your oven. Once they start to brown around the edges, they are done. Lastly, not allowing the bars to cool completely before cutting can cause them to break apart. Patience here is key!
Storage, Freezing & Reheating Tips
To store these homemade granola bars, keep them in an airtight container at room temperature. They can last for about a week. For longer shelf life, consider freezing them! Individually wrap each bar in plastic wrap and place them in a freezer-safe bag. They can be stored in the freezer for up to three months. When you’re ready to enjoy one, simply take it out and let it thaw at room temperature—this will restore its chewy texture. If you notice any sign of freezer burn, it’s best to discard those bars to maintain quality.
Frequently Asked Questions
Can I use instant oats instead of rolled oats?
While you can use instant oats, they may lead to a softer texture compared to rolled oats, which provide that hearty, chewy bite. Rolled oats better hold their shape during baking and are generally more nutritious, so consider this when choosing your oats.
How can I customize my granola bars further?
Absolutely! You can add various seeds like chia or flax seeds, or even switch the binds with different nut butters. It’s a great opportunity to try new flavors and textures. Experiment with spices or even citrus zests to bring your granola bars to another level.
Do these bars need to be refrigerated?
It is unnecessary to refrigerate the bars unless you’ve added perishable ingredients. Storing them in an airtight container at room temperature is sufficient for maintaining their texture and flavor.
Are these granola bars vegan?
If you substitute honey with a vegan sweetener like maple syrup and use a plant-based nut or seed butter, these granola bars can easily become a vegan snack.
What’s the best way to cut these bars once baked?
Using a sharp knife and cutting them while they are completely cooled will yield the cleanest cuts. A serrated knife also works well for this purpose. If they seem to stick, you can run the knife under warm water for easier slicing.
Conclusion: Enjoying healthy snacks doesn’t mean sacrificing taste! This Healthy Granola Bar Recipe Will Change Your Life, providing nourishments and benefits without the guilt. With a little preparation, you easily enjoy a delicious, homemade treat that’s not only good for you but also satisfies those cravings for a sweet snack. Make this recipe your go-to for quick meals, road trips, or after-school snacks; your future self will thank you!